You’ll start your nail art journey by prepping nails with gentle filing and cuticle care, then applying a base coat for protection. Master basic techniques like dotting with toothpicks for flowers, striping tape for clean lines, and sponging for gradient effects. Practice simple patterns first—polka dots, geometric shapes, or color blocking work great for beginners. Seal everything with a quality topcoat, capping the edges to prevent chips. These foundational skills open doors to countless creative possibilities.
Key Takeaways
- Start by removing old polish, shaping nails, pushing back cuticles, and applying base coat for a smooth canvas.
- Master basic dotting techniques using toothpicks or bobby pins to create simple flowers, polka dots, and abstract patterns.
- Try striping tape for clean geometric designs and color blocking by painting sections and removing tape while wet.
- Use household items like sponges for gradients, toothpicks for details, and nail stickers for instant designs without artistic skills.
- Seal artwork with thin, even topcoat layers, capping free edges to prevent chipping and extend design longevity.
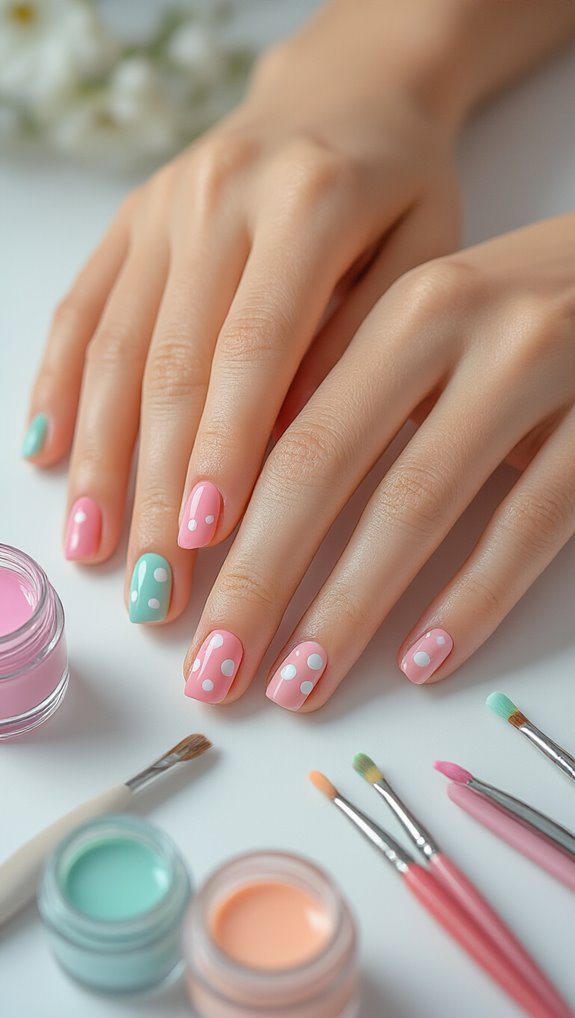
Essential Tools and Supplies for Beginning Nail Artists
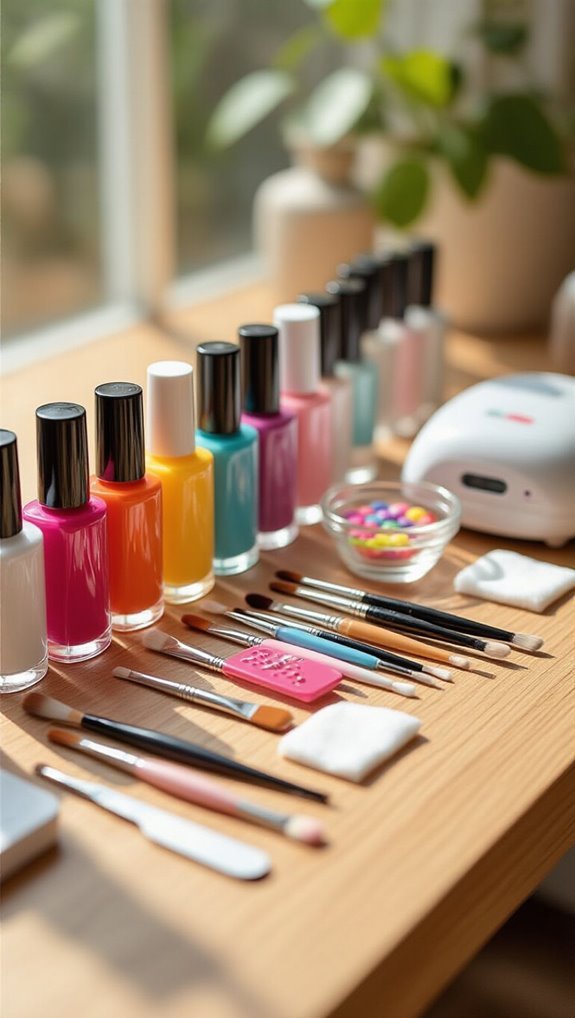
Before you dive into creating stunning nail designs, you’ll need to gather the right tools that’ll make your nail art journey both enjoyable and successful.
Start with quality base and top coats to protect your nails and seal your artwork. You’ll need various nail polish colors—understanding basic color theory helps you create harmonious combinations and eye-catching contrasts.
Essential tools include dotting tools for perfect circles, thin brushes for detailed work, and striping tape for clean lines. Don’t forget nail polish remover, cotton swabs for corrections, and a cleanup brush.
Invest in cuticle oil and hand cream to maintain healthy nails between designs.
When selecting products, prioritize product safety by choosing formulas free from harmful chemicals like formaldehyde, toluene, and DBP. Check expiration dates and store polishes properly.
You’ll also need good lighting and a steady surface to work on. These foundational supplies won’t break the bank but will significantly impact your results.
Preparing Your Nails for Art Application
Now that you’ve gathered your supplies, proper nail preparation sets the foundation for long-lasting, professional-looking designs.
Start by removing any old polish with acetone-free remover to prevent drying. File your nails into your preferred shape using gentle, one-direction strokes rather than sawing back and forth.
Push back your cuticles gently with a cuticle pusher after softening them in warm water. Never cut living tissue—only remove loose, dead skin. Apply cuticle oil and perform a brief oil massage, working the product into your nail beds and surrounding skin. This cuticle care routine strengthens nails and creates a smooth canvas.
Buff the nail surface lightly to remove ridges and create slight texture for better polish adhesion. Wipe each nail with rubbing alcohol or nail dehydrator to remove oils and debris. This crucial step ensures your base coat bonds properly, preventing chips and extending your nail art’s lifespan.
Basic Nail Art Techniques Every Beginner Should Master
Starting with simple techniques builds your confidence and develops the steady hand you’ll need for more complex designs. You’ll master five fundamental methods that form the foundation of nail artistry.
| Technique | Essential Tools |
|---|---|
| Dotting | Dotting tool, toothpick |
| Striping | Thin brush, tape |
| Color Blending | Makeup sponge, palette |
| Stamping | Stamper, scraper, plates |
| Matte Finishes | Matte topcoat, buffer |
Begin with dotting—it’s the easiest technique. Create polka dots, flowers, or abstract patterns using various sized tools. Next, practice striping for clean lines and geometric designs. You’ll achieve professional results with striping tape or a steady brush stroke.
Color blending creates stunning gradient effects. Dab different polishes onto a damp sponge, then press it onto your nail for an ombre look. Stamping transfers intricate designs effortlessly using special plates and tools.
Finally, transform any polish with matte finishes. Apply matte topcoat over regular polish for a sophisticated, velvety appearance that’s trending everywhere.
Creating Simple Dot Designs and Patterns
You’ll need the right tools to create polished dot designs, starting with dotting tools in various sizes or simple alternatives like bobby pins and toothpicks.
Once you’ve gathered your supplies, you can master basic patterns like polka dots, flowers, and geometric shapes that transform plain nails into eye-catching art.
These beginner-friendly designs require minimal skill but deliver maximum impact when you’re building your nail art repertoire.
Tools for Dot Art
Grab a toothpick from your kitchen drawer and you’re already equipped to create stunning dot art on your nails. You’ll find toothpicks perfect for tiny dots, while bobby pins create medium-sized circles. For varied sizes, use the rounded end of a hairpin or the tip of a mechanical pencil (without lead).
Professional dotting tools aren’t expensive and offer better control for precise dot placement. They come in double-ended styles with different ball sizes. You can also repurpose household items: pen caps make bold dots, while straight pins create micro details.
When working with multiple tools, clean each between colors to maintain crisp color contrast. Dip your tool straight into polish, then gently press onto the nail without twisting. Reload polish every two to three dots for consistent sizing.
Basic Dot Patterns
Line up five dots along your nail’s center for an instant elegant look that takes seconds to master. You’ll create visual impact by varying dot sizes—start with larger dots at the base and gradually decrease toward the tip. Try diagonal arrangements or frame your nail’s edges with uniform dots for geometric appeal.
Apply basic color theory when selecting polish combinations. Complementary colors like blue and orange create striking contrast, while analogous shades offer subtle harmony. Don’t overlook negative space—leaving areas of bare nail between dot clusters adds sophistication and prevents overcrowding.
Practice these starter patterns: polka dots in grid formation, flower shapes using five dots around a center, and gradient effects with dots transitioning from dark to light. You’ll quickly develop muscle memory for consistent spacing and pressure.
Mastering Striping and Line Work
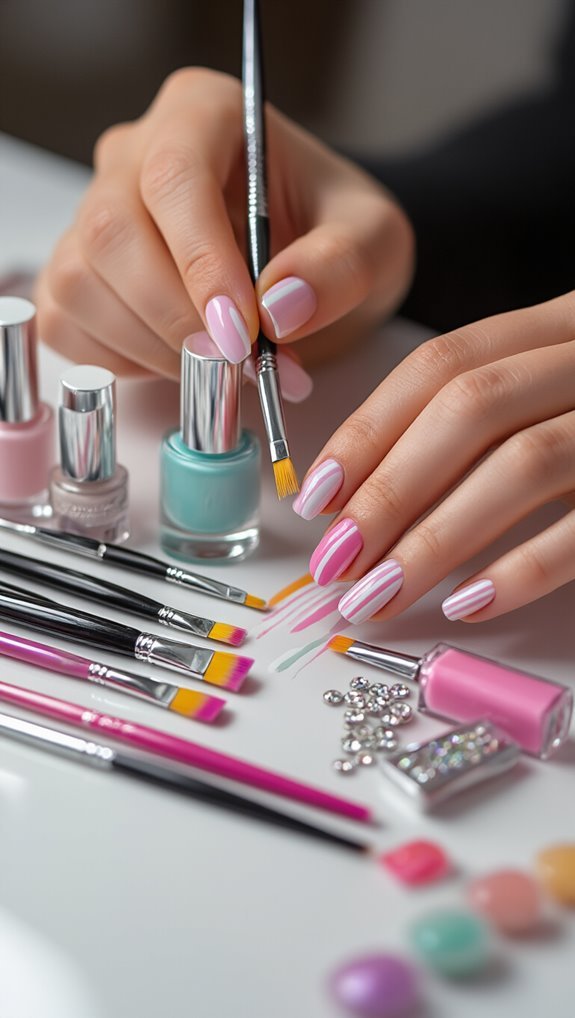
You’ll need striping brushes, nail art pens, and striping tape to create clean lines and geometric patterns on your nails.
Start with basic techniques like dragging a thin brush straight across the nail or using tape as a guide for perfectly straight edges.
Once you’ve practiced horizontal and vertical lines, you can combine them to make grids, chevrons, and abstract designs.
Essential Tools Needed
Setting up for precise line work requires the right tools to transform your nail designs from amateur to professional. You’ll need specific supplies that ensure clean, sharp lines every time.
Your striping toolkit must include:
- Striping brushes – Ultra-thin brushes with long bristles for continuous lines
- Striping tape – Adhesive guides that create perfectly straight edges
- Dotting tools – Double-ended tools for dots and detail work
- Nail art pens – Fine-tip markers for freehand designs
- Clean-up brush – Angled brush dipped in acetone for fixing mistakes
Don’t forget sanitation essentials like rubbing alcohol and disposable files between uses.
Choose ergonomic tools with comfortable grips to prevent hand fatigue during detailed work. You’ll also need a steady surface and good lighting to execute precise strokes confidently.
Basic Line Techniques
Creating smooth, professional lines starts with understanding the fundamental movements that control your brush strokes. You’ll achieve cleaner results by anchoring your pinky on a stable surface while drawing. Practice pulling the brush toward you rather than pushing away—this gives you better control and prevents wobbly lines.
Start with simple vertical stripes using striping tape for guidance. Once you’ve mastered straight lines, experiment with negative space designs by leaving sections unpainted between your lines. This technique creates striking geometric patterns without overwhelming the nail.
For gradient lines, vary your pressure as you drag the brush. Press harder at the beginning and gradually lighten your touch to create lines that fade from thick to thin. This adds dimension and sophistication to basic striping work.
Easy Floral Designs for First-Time Artists
Flowers bring instant charm to any manicure, and they’re surprisingly simple to create with just a dotting tool or toothpick. You’ll master basic florals faster than you think with these beginner-friendly techniques.
Start with five-petal daisies using your dotting tool. Create five dots in a circle, then add a contrasting center dot. For watercolor petals, dilute your polish with a drop of acetone and layer translucent strokes. You can also try pressed flowers by securing real dried petals with clear topcoat.
Essential floral techniques include:
- Drag dots outward for teardrop petals
- Layer different sized dots for roses
- Use striping tape for geometric blooms
- Mix colors while wet for gradient effects
- Add leaves with simple brush strokes
Practice on paper first to build confidence. Work with one nail at a time, allowing each element to partially dry before adding details. Your speed and precision will improve with each attempt.
Geometric Patterns and Color Blocking Methods
While florals showcase your artistic flair, geometric patterns offer a modern edge that’s actually easier to execute with precision. You’ll need striping tape or nail vinyls to create clean lines and sharp angles.
Start by applying your base color and letting it dry completely. Position tape diagonally across your nail, then paint over it with a contrasting shade. Remove the tape while the polish is still wet for crisp edges.
For color blocking, divide your nail into sections using tape. Paint each section a different color, incorporating negative space by leaving some areas unpainted for a contemporary look. You can’t go wrong with bold primary colors or soft pastels.
Add metallic accents along the borders where colors meet using a thin brush or striping pen. Gold and silver create sophisticated definition.
Try triangular tips, half-moon designs, or asymmetrical splits. These techniques work beautifully on both short and long nails.
Using Stickers, Stamps, and Stencils
Breaking away from freehand designs, stickers, stamps, and stencils offer foolproof methods for achieving professional-looking nail art without years of practice. You’ll find these tools transform basic manicures into salon-worthy creations within minutes.
Start with nail stickers—they’re the easiest option. Simply peel, position, and press onto dry polish.
For stamping, you’ll need:
- Stamping plate with etched designs
- Scraper to remove excess polish
- Silicone stamper for transfer
- Quick-dry stamping polish
- Top coat to seal designs
Stencils work best with sponges for gradient effects. Secure vinyl stencils firmly against your nail, then dab polish over them. Remove while polish is wet for crisp lines.
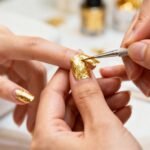
Level up your designs with foil accents by applying special adhesive and pressing metallic sheets onto tacky areas.
Holographic powders create stunning chrome effects when rubbed onto no-wipe gel top coats. These additions catch light beautifully and elevate simple patterns into eye-catching art.
Sealing and Protecting Your Nail Art
Once you’ve completed your nail art masterpiece, proper sealing techniques ensure your designs stay vibrant and chip-free for days. You’ll need a high-quality topcoat to protect your work from everyday wear and tear.
Apply your topcoat using smooth, even strokes from base to tip. Don’t forget to cap the free edge by running the brush along the nail’s tip – this prevents premature chipping. For textured designs like rhinestones or 3D elements, you’ll need two thin coats rather than one thick layer.
Your cuticle care matters too. Push back cuticles before sealing to prevent polish from pooling at the nail bed. Clean any topcoat that touches your skin immediately with a small brush dipped in acetone.
Reapply topcoat every two to three days to maintain shine and protection. Quick-dry topcoats work well for busy schedules, while gel topcoats offer maximum durability when cured under UV light.
Troubleshooting Common Nail Art Mistakes
Even experienced nail artists encounter frustrating mishaps that can ruin hours of careful work. You’ll face challenges, but knowing quick fixes saves your manicure from disaster.
Common mistakes and their solutions include:
- Polish bubbling – occurs when you shake bottles vigorously or apply thick coats too quickly
- Smudged designs – happens when you don’t wait between layers or accidentally touch wet polish
- Streaky application – results from old, thick polish or improper brush technique
- Cuticle over trimming – causes bleeding and infection when you cut living tissue
- Chipped edges – develops when you skip base coat or forget to cap nail tips
When polish bubbles appear, pop them with a pin while wet, then smooth over. If you’ve trimmed cuticles too aggressively, apply antibiotic ointment immediately.
For smudges, dip a small brush in acetone to clean edges precisely. Don’t panic about mistakes—they’re learning opportunities that improve your technique.
Frequently Asked Questions
How Long Should I Wait Between Nail Art Sessions to Prevent Damage?
You’ll want to wait at least one to two weeks between nail art sessions to prevent damage. Your nails need these rest periods to recover from polish chemicals and filing.
During breaks, let your nails experience nail breathing – time without any products – which strengthens them naturally. If you notice peeling, brittleness, or thinning, extend the break to three weeks.
You’re protecting your nail health by spacing out sessions properly.
Can I Do Nail Art on Acrylic or Gel Extensions?
Yes, you can definitely do nail art on acrylic or gel extensions! They’re actually ideal canvases since they provide a smooth, durable surface. You’ll find designs last longer on extensions than natural nails.
Just remember that acrylic maintenance requires careful filing around your artwork, and during gel removal, you’ll need to soak off designs completely. Use the same techniques you’d apply to natural nails, but enjoy the extended wear time.
Is Nail Art Safe During Pregnancy?
Yes, you can safely enjoy nail art during pregnancy with proper precautions.
Choose pregnancy safe products that are “3-free” or “5-free,” avoiding formaldehyde, toluene, and DBP.
Work in well-ventilated areas to minimize fume exposure.
Your prenatal nailcare routine should include moisturizing cuticles and taking breaks between applications.
You’ll find water-based, non-toxic polishes work wonderfully for creative designs while keeping you and your baby protected from harsh chemicals.
How Much Does Starting Nail Art as a Hobby Typically Cost?
You’ll typically spend $20-50 to start nail art as a hobby.
Starter kits offer the best value, including essential tools like dotting tools, brushes, and basic polishes for around $25-35.
Budget options exist if you’re careful – you can begin with just a few polishes and household items like toothpicks for under $20.
As you develop your skills, you’ll naturally invest in more specialized tools and higher-quality products.
Will Frequent Nail Art Cause Permanent Nail Discoloration or Weakness?
Yes, you’ll likely experience some temporary staining buildup from darker polishes, but it’s rarely permanent.
You can prevent most damage by using a base coat and taking breaks between applications.
The bigger risk comes from cuticle trauma when you’re too aggressive with pushing or trimming.
If you’re gentle with removal techniques and moisturize regularly, your nails won’t develop lasting weakness.
Most discoloration fades within weeks of stopping polish use.
Conclusion
You’ve now got the foundation to create stunning nail art at home. Start with simple designs and gradually work your way up to more complex patterns. Don’t worry if your first attempts aren’t perfect—you’ll improve with practice. Remember to prep your nails properly, take your time with each technique, and always seal your artwork. Most importantly, have fun experimenting with colors and styles. Your creativity’s the only limit to what you can achieve.