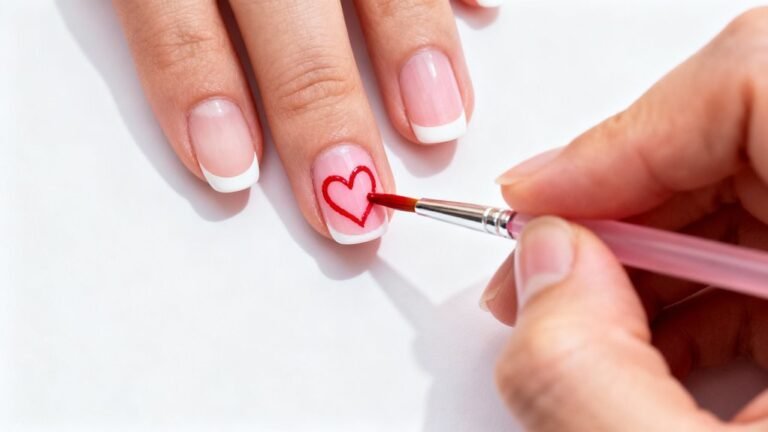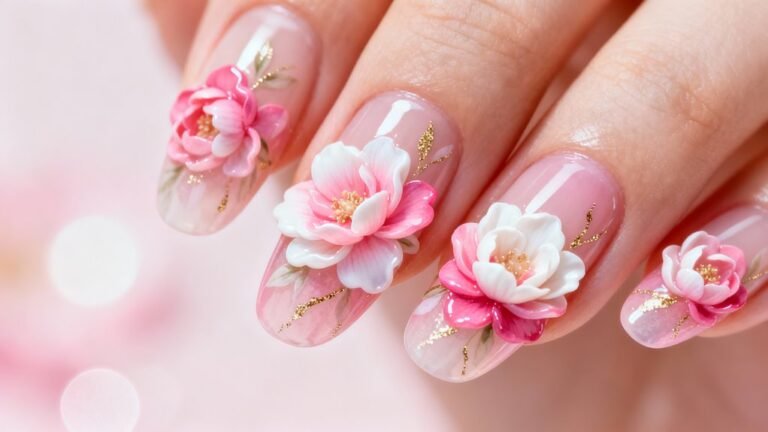
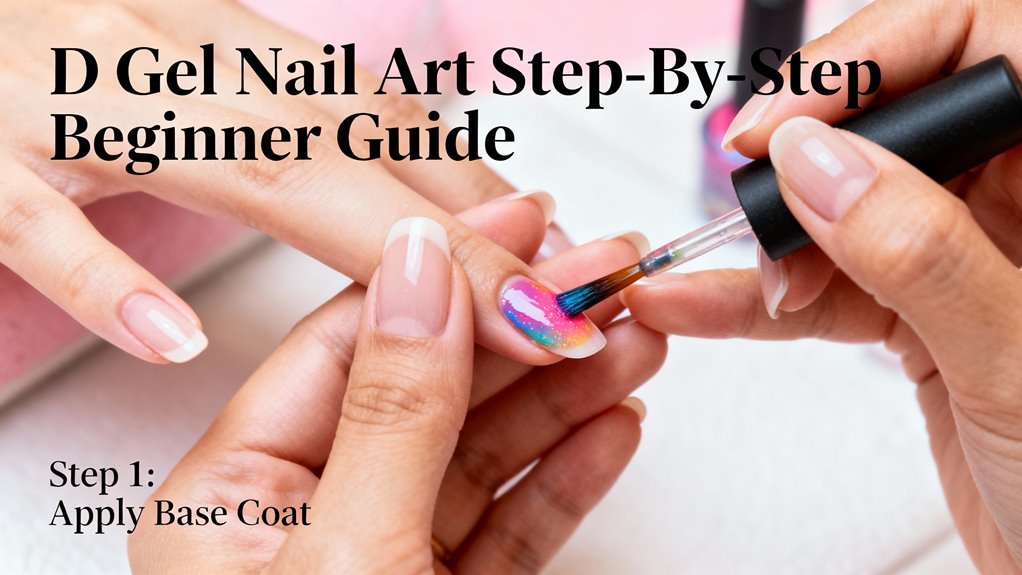
You’ll start your 3D gel nail art journey by prepping your nails with light buffing and alcohol cleaning, then applying a thin base coat that’s cured for 30 seconds under LED light. Next, you’ll use thick builder gel and sculpting tools to create dimensional elements like petals and dots, working quickly before the gel self-levels. After building your design layer by layer with 30-second curing between each element, you’ll seal everything with topcoat for 60 seconds. Master these fundamentals and you’ll discover advanced techniques for creating intricate floral designs and geometric patterns.
Key Takeaways
- Start with essential tools: LED lamp, builder gel, sculpting spatula, gel pigments, and prep items like files and alcohol wipes.
- Prep nails properly: push back cuticles, lightly buff surface, clean with alcohol, and apply primer for optimal adhesion.
- Apply thin base coat using three-stroke method, cap free edges, and cure for 30 seconds under LED lamp.
- Build 3D elements by placing gel beads with sculpting tools, creating simple shapes, and curing each layer for 30 seconds.
- Practice basic flower designs using teardrop petals, dotting tools for texture, and layer translucent elements for dimensional depth.
Essential Tools and Materials for 3D Gel Nail Art
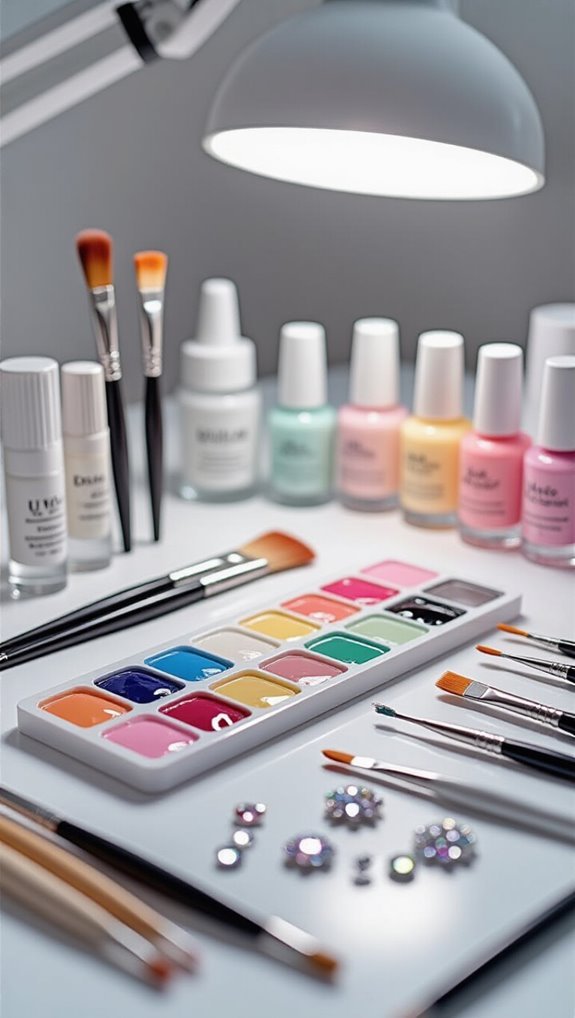
Start your 3D gel nail art journey with the right tools, and you’ll save yourself countless hours of frustration. You’ll need a UV or LED lamp for curing, which is non-negotiable for proper gel polymerization. Stock up on builder gel in clear and white variations, as these form your sculpture’s foundation.
Your sculpting spatula becomes your primary artistic instrument. Choose one with a fine tip for detailed work and a flat edge for smoothing surfaces. You can’t create vibrant designs without quality gel pigments—invest in primary colors plus black and white for endless mixing possibilities.
Don’t forget essential prep items: nail files, buffers, alcohol wipes, and cuticle pushers. You’ll also need base coat, top coat, and small brushes for precise application. A silicone mat protects your workspace while making cleanup easier. Finally, grab dotting tools for creating perfect spheres and texture details in your 3D designs.
Preparing Your Natural Nails for 3D Gel Application
Before you apply 3D gel designs, you’ll need to properly prepare your natural nails to ensure the art adheres well and lasts longer.
Start by gently pushing back your cuticles with a cuticle pusher and removing any excess skin, then buff your nail surface lightly to create slight texture for better gel adhesion.
These crucial prep steps prevent lifting and help your 3D gel art stay secure for weeks.
Cuticle Care Basics
When you’re planning to create stunning 3D gel nail art, proper cuticle care forms the foundation for professional-looking results. You’ll need to push back your cuticles gently using a cuticle pusher after softening them in warm water. Remove any dead skin with cuticle nippers, but don’t cut living tissue—this can cause bleeding and infection.
Establish a daily hydration routine by applying cuticle oil twice daily. An oil massage improves blood circulation and keeps the skin supple. Work the oil into your cuticles using circular motions for thirty seconds per nail. Choose oils containing vitamin E or jojoba for optimal nourishment. Well-maintained cuticles prevent gel lifting and ensure your 3D decorations adhere properly. They’ll also create clean lines where your gel meets the skin.
Nail Surface Prep
After completing your cuticle care, you’ll need to properly prep your nail surface to create the ideal foundation for 3D gel application. Start by gently buffing your nails with a 180-grit file to remove shine and create texture mapping that’ll enhance surface bonding. This roughened texture gives the gel something to grip onto, preventing lifting and chipping.
Next, you’ll remove all dust particles with a lint-free wipe and 70% isopropyl alcohol. Don’t skip this step—any remaining debris will compromise adhesion.
Push back any remaining cuticle tissue that’s crept onto your nail plate. Finally, apply a dehydrator to eliminate moisture and oils that could interfere with the gel’s ability to bond. Your nails are now perfectly prepped for primer application.
Creating Your Base Layer and Color Foundation
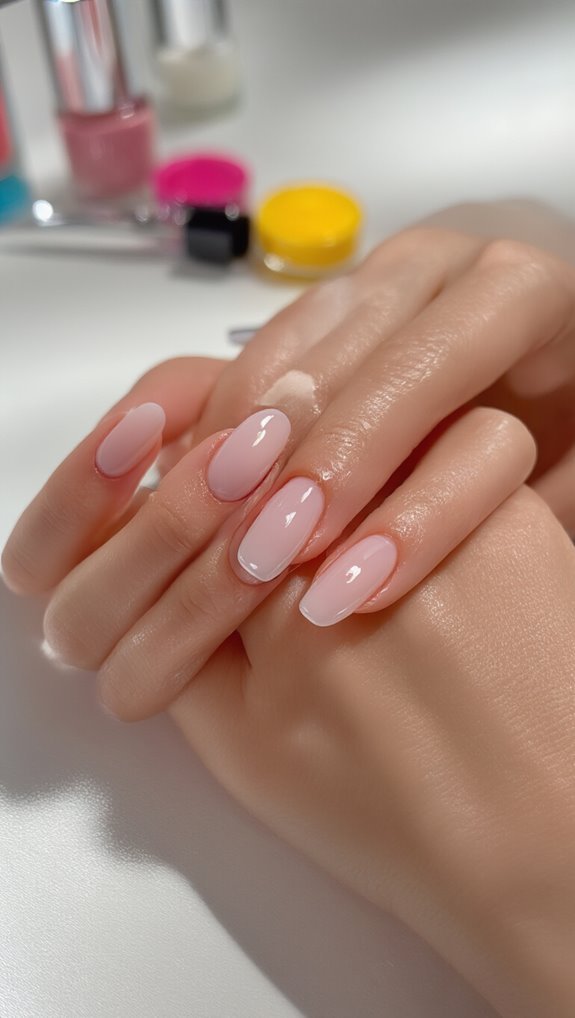
Now that you’ve prepped your natural nails, you’ll need to establish a strong foundation for your gel art.
Start by gathering your essential prep tools—a quality base coat, lint-free wipes, and 70% isopropyl alcohol to cleanse the nail surface. You’ll apply the base coat in thin, even strokes from cuticle to tip, ensuring complete coverage without flooding the sidewalls or cuticle area.
Nail Prep Essentials
Before you dive into creating stunning gel nail designs, you’ll need to master the foundation that makes everything else possible.
Start by removing old polish completely and pushing back your cuticles gently. File your nails into your desired shape using smooth, one-directional strokes to prevent splitting.
Next, buff the nail surface lightly to create texture for better gel adhesion. Don’t overdo it—you’re just removing shine, not thinning the nail.
Clean each nail with 70% isopyl alcohol or a nail dehydrator to eliminate oils and debris.
Maintaining proper hydration balance is crucial; overly dry nails crack while oily ones prevent adhesion.
Apply a thin coat of primer and let it air dry for 30 seconds.
Base Coat Application
Your perfectly prepped nails are ready for the base coat—the invisible foundation that determines whether your gel manicure lasts two days or two weeks.
You’ll need proper brush selection to apply thin, even layers without flooding your cuticles. Choose a flat brush with synthetic bristles that won’t leave streaks.
Before applying, check your nail’s hydration balance—overly dry nails can cause premature peeling. Apply the base coat in three strokes: center, then sides. Cap the free edge to seal everything. Cure under your LED lamp for 30 seconds.
- Watch your manicure survive dish duty without chipping
- Feel confident shaking hands at important meetings
- Enjoy compliments on your professional-looking nails
- Save money on weekly salon visits
- Experience the satisfaction of perfecting your technique
Basic 3D Gel Techniques and Manipulation Methods
While standard gel polish creates flat designs, 3D gel opens up a world of sculptural possibilities that’ll transform your nail art from simple to spectacular. You’ll start with the thickest gel formula available, which maintains its shape without running or spreading.
Begin by dispensing a small bead onto your palette. Using sculpting tools, pick up the gel and place it directly on the cured base coat. Work quickly but precisely – 3D gel starts self-leveling after 30 seconds.
Create basic shapes like dots, petals, or bows by manipulating the gel with a dotting tool or fine brush.
For micro beadwork effects, drop tiny gel spheres in patterns across the nail. Build dimension by layering – cure each element for 30 seconds under LED light before adding the next.
Don’t overwork the gel; excessive manipulation causes bubbles. Practice pressure control on practice tips first – lighter touches yield cleaner results.
Building Simple Flower Designs With 3D Gel
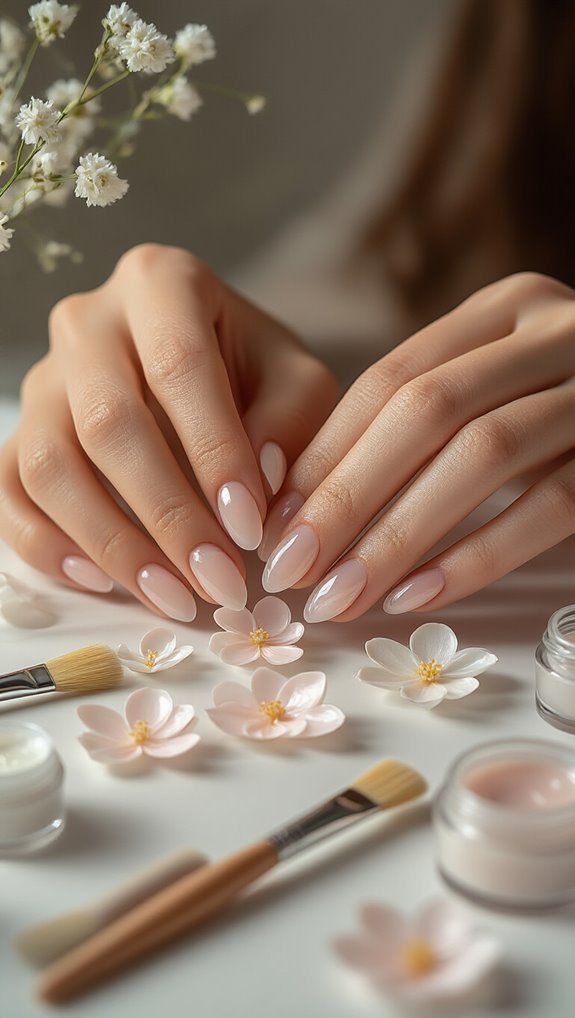
Now that you’ve mastered basic 3D gel manipulation, you’re ready to create your first flower designs. You’ll start by learning essential petal techniques that form the foundation of any floral nail art, then move into color blending methods that bring your flowers to life.
Proper placement and spacing will ensure your blooms look balanced and professional on each nail.
Basic Petal Techniques
Creating simple flower designs with 3D gel starts with mastering the basic petal shape—a teardrop that you’ll sculpt directly on the nail surface.
You’ll control petal depth by applying gentle pressure with your dotting tool, pushing the gel’s center while keeping edges thin.
For shadow layering, place darker gel beneath lighter shades to create dimension.
Add translucent veining by dragging a fine brush through wet gel, mimicking natural petal texture.
Perfect micro ribboning by pulling gel upward in delicate strokes.
- Transform plain nails into wearable art pieces
- Express your creativity through miniature floral sculptures
- Build confidence with each perfectly formed petal
- Watch clients’ faces light up at intricate details
- Master techniques that elevate your professional portfolio
Color Blending Methods
When you’re ready to elevate your 3D flower designs, color blending becomes your most powerful tool for achieving realistic, gradient petals that capture nature’s subtle transitions. You’ll master ombre transitions by working with semi-cured gel, allowing colors to merge seamlessly before final curing.
| Technique | Tools Needed | Curing Time |
|---|---|---|
| Wet-on-Wet | Fine brush, palette | 30 seconds |
| Feathering | Liner brush | 45 seconds |
| Watercolor blending | Alcohol, brush | 20 seconds |
| Gradient layering | Sponge tool | 60 seconds |
| Stippling | Dotting tool | 40 seconds |
Start with watercolor blending for soft, dreamy effects. Apply your base color, then immediately introduce the second shade while the gel’s still tacky. Use gentle circular motions to merge boundaries. Don’t overwork the gel—you’ll lose definition and create muddy colors.
Placement and Spacing
Setting up your flower placement requires careful planning to achieve balanced, professional-looking nail art that doesn’t appear cluttered or sparse.
You’ll create harmony by using spacing grids as your foundation. Draw imaginary lines dividing your nail into thirds or quarters, then position flowers at intersection points. Placement guides help you maintain consistency across all ten nails.
Consider these emotional impact factors:
- Centered single blooms create elegance and simplicity
- Cascading corner arrangements suggest movement and grace
- Clustered designs evoke garden-like abundance
- Asymmetrical placement adds modern artistic flair
- Negative space between flowers provides visual breathing room
Start with fewer flowers than you think you need. You can always add more, but removing cured 3D gel proves challenging.
Practice your layout on paper first.
Crafting Geometric Patterns and Abstract Shapes
After you’ve mastered basic gel application, geometric patterns and abstract shapes offer an exciting way to elevate your nail art without requiring advanced freehand skills. You’ll create stunning designs using tape, stencils, and dotting tools. Start with simple triangles or stripes, incorporating negative space to let your base color peek through. These minimalist designs look professional yet take minutes to complete.
For abstract shapes, you’ll blend colors using a dry brush technique or sponge. Add metallic accents with striping tape or chrome powder for dimension. Here’s your quick reference guide:
| Pattern Type | Tools Needed | Difficulty |
|---|---|---|
| Triangles | Tape, gel polish | Beginner |
| Stripes | Striping tape | Beginner |
| Dots | Dotting tool | Beginner |
| Chevron | Stencils, tape | Intermediate |
| Abstract waves | Brush, sponge | Intermediate |
Remember to cure each layer for 30-60 seconds. Clean edges with acetone and a small brush before final curing.
Adding Fine Details and Embellishments to Your Design
Bring your nail art to life with delicate details and eye-catching embellishments that transform simple designs into miniature masterpieces.
You’ll discover that adding micro rhinestones creates dimensional sparkle that catches light beautifully. Place them strategically using a dotting tool dipped in clear gel polish as adhesive.
Transform your nails with these stunning embellishment techniques:
- Apply foil accents by pressing transfer sheets onto tacky gel layers
- Create delicate dots using a toothpick for precise placement
- Add shimmer lines with ultra-fine glitter suspended in topcoat
- Layer translucent elements for depth and visual interest
- Combine metallic strips with negative space for modern elegance
Seal everything with a thick topcoat layer, ensuring you’ve encapsulated all embellishments completely.
Cure for 60 seconds under your LED lamp. When working with raised elements like rhinestones, apply topcoat around their edges first, then flood the surrounding area. This technique prevents lifting and ensures your detailed artwork lasts weeks without chipping.
Proper Curing Times and UV/LED Lamp Settings
While your intricate nail art may look flawless, improper curing can ruin hours of detailed work within days.
You’ll need to understand curing chemistry basics: UV lamps require 2-3 minutes per coat, while LED lamps cure in 30-60 seconds.
Check your gel polish brand’s specifications since formulations vary significantly.
Don’t rush the process. Undercured gel remains soft, causing chips and peeling.
Overcuring creates brittleness and yellowing.
Set your lamp to the manufacturer’s recommended wattage—typically 36W for UV and 18-24W for LED.
Regular lamp maintenance ensures consistent results.
Replace UV bulbs every six months as their effectiveness diminishes.
Clean your lamp’s interior weekly with isopropyl alcohol to remove dust and gel residue that blocks light penetration.
Position your hand flat and centered under the light.
If you’re using thick embellishments or multiple layers, add 30 seconds to standard cure times.
Always cure your topcoat for the full recommended duration to seal your design properly.
Sealing and Top Coat Application for Long-Lasting Results
Top coat application often determines whether your nail art lasts two weeks or chips within two days. You’ll need to seal every edge properly, wrapping the tip to prevent lifting. Apply thin, even strokes from cuticle to free edge, ensuring complete coverage over your design.
Your top coat choice affects the final look. While glossy finishes enhance color vibrancy, a matte finish creates sophisticated, modern effects. Either option provides essential moisture resistance, protecting your art from daily water exposure.
Key benefits you’ll experience with proper sealing:
- Your intricate designs stay pristine for weeks
- You’ll avoid frustrating chips during important events
- Your nails maintain professional salon-quality appearance
- You’ll save money on frequent touch-ups
- Your confidence soars with flawless-looking hands
Cap the free edge by running the brush horizontally across the tip. This crucial step locks in your design and prevents premature wear. Cure according to manufacturer specifications, typically 60 seconds for LED lamps.
Troubleshooting Common 3D Gel Nail Art Mistakes
Even when you’ve mastered basic techniques, 3D gel nail art can present unexpected challenges that frustrate beginners. You’ll encounter designs that won’t stay put, bubbling textures, or decorations that slide off before curing. These issues often stem from applying too much product at once or not allowing proper drying time between layers.
Your tool maintenance directly impacts your results. Dirty brushes create streaky applications, while dull dotting tools won’t pick up gel properly. Clean your implements with isopropyl alcohol after each use and store them properly to prevent contamination.
When working with clients, clear client communication prevents disappointment. You should explain that intricate 3D designs require longer appointment times and may not suit every lifestyle. If embellishments keep falling off, you’re likely skipping the dehydration step or using incompatible products. Always prep the nail surface thoroughly and ensure each layer bonds correctly before adding dimensional elements.
Frequently Asked Questions
Can I Do 3D Gel Nail Art if I Have Allergies to Regular Gel Polish?
You’ll need to explore hypoallergenic formulas specifically designed for sensitive skin if you’re allergic to regular gel polish.
Before attempting 3D gel nail art, you should conduct patch testing with any new product to ensure you won’t have a reaction.
Many brands now offer allergen-free alternatives that work perfectly for dimensional designs.
Don’t skip the testing phase – apply a small amount on your skin first and wait 24-48 hours.
How Much Should I Charge Clients for 3D Gel Nail Art Services?
You’ll typically charge $50-150 for 3D gel nail art services, depending on complexity and your experience level.
Set pricing tiers based on design difficulty – simple 3D accents might start at $50, while elaborate sculptural sets command $100+.
Calculate your hourly rates by tracking time spent per service; most professionals aim for $40-80 per hour.
Don’t undervalue your artistic skills – factor in material costs, practice time, and unique expertise you’re offering.
Is 3D Gel Nail Art Safe to Wear During Pregnancy?
You can safely wear 3D gel nail art during pregnancy, but you’ll need to take prenatal precautions.
Choose a well-ventilated salon to minimize chemical exposure, and ensure they’re using pregnancy-safe, non-toxic gel products.
While the cured gel on your nails poses minimal risk to fetal safety, avoid lengthy exposure to UV lamps and uncured products.
If you’re concerned, consult your doctor about specific ingredients in the gel formulas you’re considering.
How Long Does 3D Gel Nail Art Typically Last Before Needing Removal?
Your 3D gel nail art typically lasts 2-3 weeks before you’ll need removal.
Several durability factors affect longevity, including your daily activities, nail growth rate, and the quality of application.
You’ll notice lifting at the edges or visible regrowth indicating proper removal timing.
Don’t wait beyond 4 weeks, as extended wear can weaken your natural nails.
Professional removal ensures you won’t damage the nail bed underneath.
Can I Mix Different Brands of 3D Gel Products Together?
You can mix different brands of 3D gel products, but it’s risky without proper compatibility testing first. Different formulas mightn’t cure properly together or could cause lifting and peeling.
Pigment interaction between brands can create unexpected color changes or texture issues. You’ll get the most reliable results sticking to one brand’s system, but if you’re experimenting, test small amounts on practice tips before applying to actual nails.
Conclusion
You’ve now mastered the basics of 3D gel nail art! With practice, you’ll create increasingly intricate designs that showcase your creativity. Remember to work patiently, cure each layer properly, and don’t be afraid to experiment with different techniques. Your skills will improve with each manicure you complete. Keep your tools clean, maintain proper lamp settings, and most importantly, have fun expressing yourself through this beautiful art form. You’re ready to impress everyone with stunning dimensional nails!