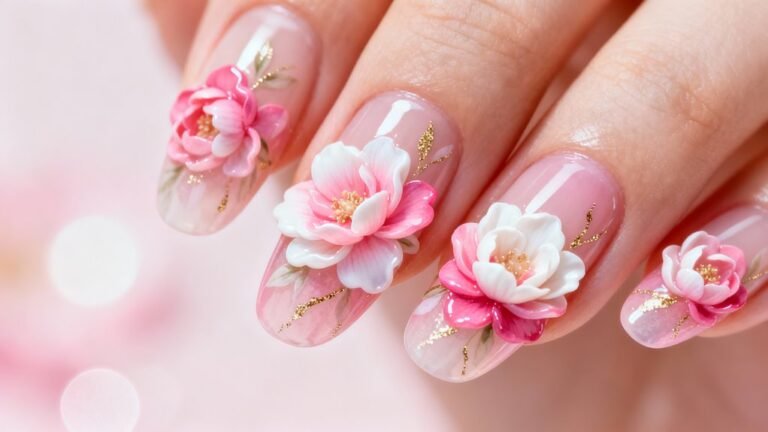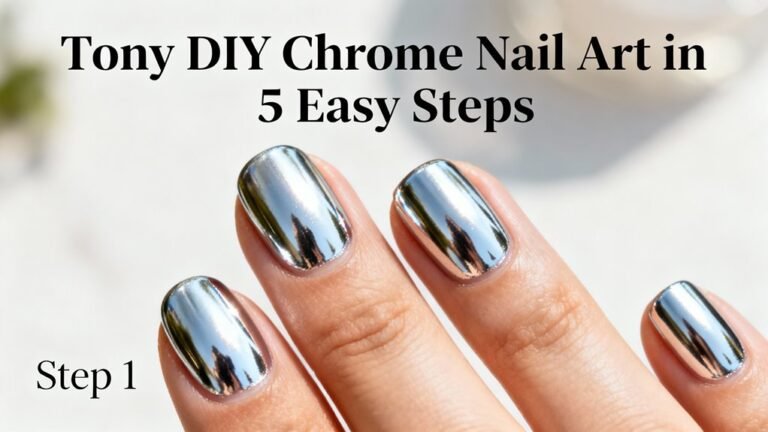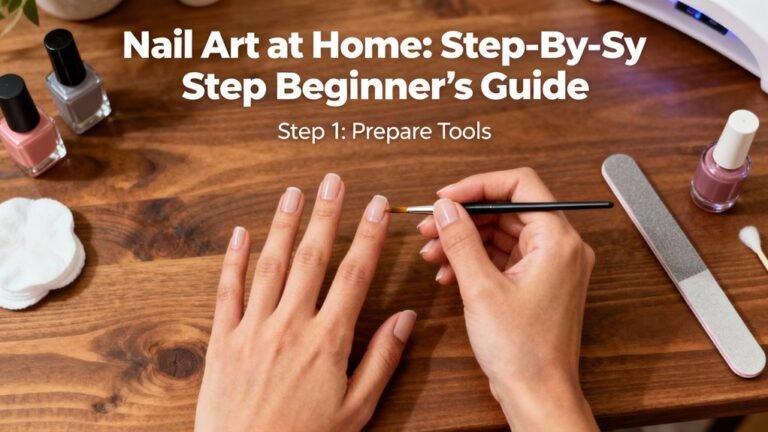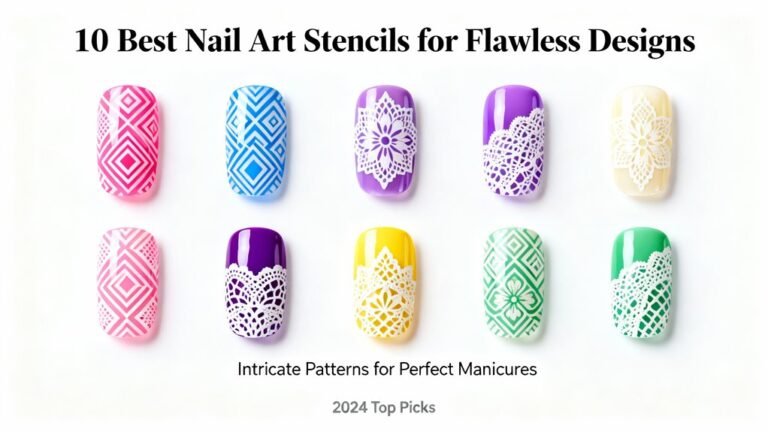
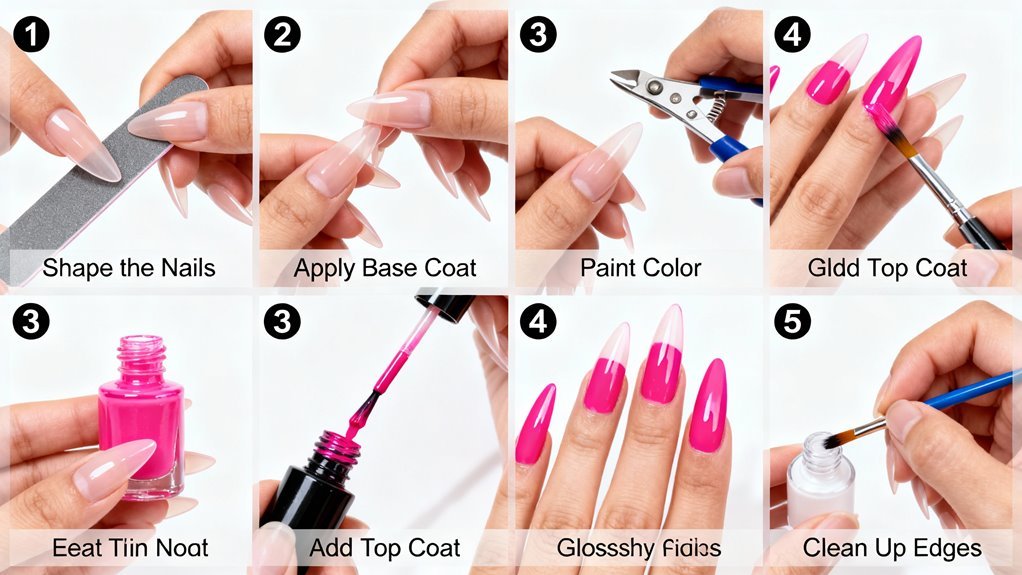
You’ll master stiletto nail art by starting with proper prep—sanitizing your nails, pushing back cuticles, and filing natural nails 1-2mm past fingertips. Shape your extensions using 100-grit files at 45-degree angles, creating symmetrical slopes that meet at sharp points. Apply thin base coat layers, add simple geometric designs like triangles or stripes, then embellish with rhinestones using wax-tipped tools. Seal everything with two thin top coat layers, capping the edges. Each technique builds your skills for stunning results.
Key Takeaways
- Start by filing natural nails 1-2mm beyond fingertip, then shape from sides toward center at 45-degree angles to create the pointed stiletto tip.
- Apply thin base coat from cuticle to tip, followed by two thin color coats using a flat brush with three-stroke method.
- Begin with simple geometric designs like triangles or stripes that complement the stiletto shape before attempting complex nail art.
- Use 100-grit file for initial shaping, then refine with 180-grit, checking symmetry by viewing nails head-on throughout the process.
- Seal all artwork with two thin top coat layers, capping the free edge to prevent chipping and extend wear time.
Essential Tools and Materials for Stiletto Nail Art
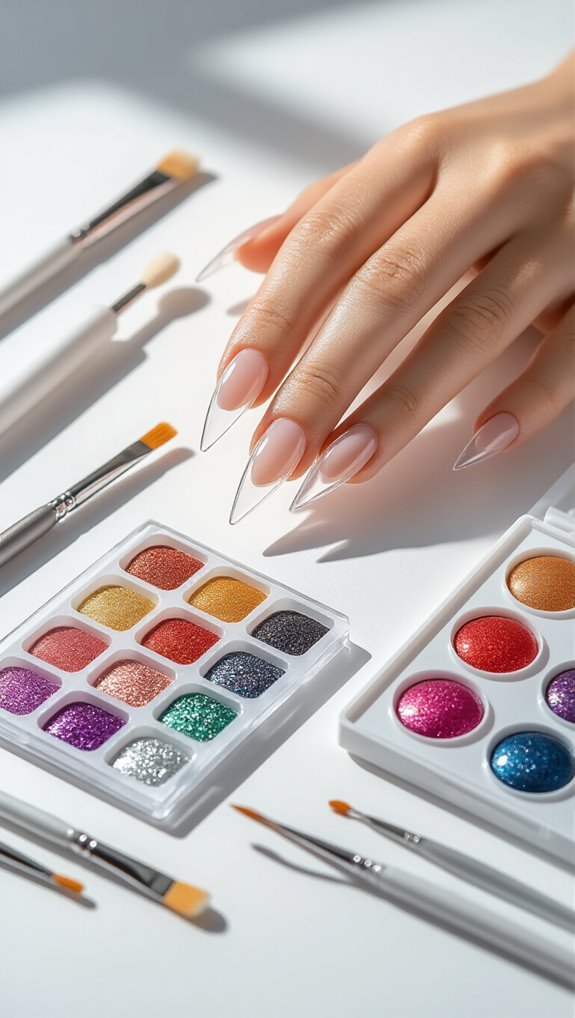
Setting up your stiletto nail art workspace requires specific tools that differ from traditional manicure supplies. You’ll need high-quality nail files with 100/180 grit specifically designed for shaping extreme points, as regular files won’t create the precise angles stilettos demand. Electric files speed up the process but require practice to avoid over-filing.
Your essential kit must include nail primers to ensure polish adhesion on the elongated surface area. You’ll also need sturdy nail forms or tips rated for extended lengths, strong nail glue, and a UV/LED lamp if you’re working with gel products. Don’t forget cuticle pushers, buffer blocks, and precision brushes for detailed artwork.
Invest in proper storage solutions to protect your stiletto tools from damage. Compartmentalized cases keep files separated and prevent dulling, while sealed containers protect primers and adhesives from air exposure. You’ll appreciate having everything organized when creating these dramatic nail shapes.
Preparing Your Natural Nails for Stiletto Shaping
Before you can create the perfect stiletto shape, you’ll need to properly prep your natural nails.
Start by thoroughly cleaning your nails with soap and sanitizing them with rubbing alcohol, then gently push back your cuticles using a cuticle pusher.
File your natural nails down to a manageable length that’ll provide a stable base for your stiletto extensions or tips.
Clean and Sanitize
You’ll always want to start your stiletto nail journey with completely clean and sanitized nails to prevent infections and ensure proper adhesion.
Remove any existing polish with acetone-free remover, then wash your hands thoroughly with antibacterial soap.
For surface disinfecting, spray or wipe your work area with 70% isopropyl alcohol.
Essential sanitization steps include:
- Soak nails in warm soapy water for 3-5 minutes
- Scrub under nails with a soft brush
- Disinfect all tools before use
- Consider glove usage if working on others
- Dry hands completely with lint-free towels
Push back your cuticles gently after sanitizing.
This prep work creates the ideal foundation for shaping and ensures your stiletto extensions won’t lift or harbor bacteria underneath.
Push Back Cuticles
Pushing back your cuticles properly creates the clean nail bed needed for flawless stiletto extensions. Start by applying cuticle oil to each nail, letting it soak for 30 seconds to soften the skin. This makes the process painless and prevents tearing.
Using a wooden orange stick or rubber-tipped pusher, gently push the cuticles toward your nail base in small, circular motions. Don’t force stubborn areas – they’ll need gentle exfoliation with a cuticle remover gel instead. Work at a 45-degree angle to avoid damaging the nail plate.
Remove any loose skin carefully with cuticle nippers, cutting only dead tissue. Never cut living skin, as this causes bleeding and infection risk. Finish by massaging remaining cuticle oil into the nail beds to maintain flexibility during shaping.
File Natural Length
Filing down your natural nails creates the stable foundation essential for stiletto extensions. You’ll need to shorten your nails to about 1-2mm beyond your fingertip, ensuring they’re uniform in length. This prevents breakage and maintains optimal nail health during the extension process.
Work with your natural growth patterns by filing in one direction rather than sawing back and forth. This technique minimizes splitting and preserves nail integrity.
Essential filing considerations:
- Use a 180-grit file for gentle shaping without damage
- File from the outer edge toward the center consistently
- Keep nails slightly rounded at corners to prevent snagging
- Remove any peeling layers that could compromise adhesion
- Dust off filing debris thoroughly before proceeding
Once you’ve achieved uniform length, you’re ready to begin shaping your stiletto extensions.
Creating the Perfect Stiletto Shape With Files and Forms
You’ll need to select the right nail forms that match your desired stiletto length and curve before you begin shaping.
Master the filing technique by working from the sides toward the center point, maintaining consistent pressure and angle throughout the process.
Watch out for common shaping mistakes like creating an off-center apex, filing too aggressively near the sidewalls, or making the tip too thick or too thin.
Choosing Right Nail Forms
When you’re ready to create stiletto nails, selecting the appropriate nail forms becomes crucial for achieving that signature tapered point. You’ll need forms that accommodate different nail form sizes since every client’s nail beds vary.
Consider investing in reusable forms for cost-effectiveness and environmental benefits—they’re sturdier than disposable options and maintain their shape better during application.
Key factors for selecting nail forms:
- C-curve compatibility – Ensures proper arch formation
- Adhesive quality – Prevents lifting during sculpting
- Grid markings – Helps measure length accurately
- Material flexibility – Allows customization for unique nail shapes
- Wing stability – Supports product weight without bending
Quality forms make the difference between amateur and professional results. They’ll support your product application while you sculpt the dramatic stiletto apex.
Filing Technique Basics
After securing your chosen forms, mastering the filing motion determines whether you’ll achieve that coveted stiletto point or end up with a lopsided disaster. You’ll need to file at a 45-degree angle from each side toward the center, creating symmetrical slopes that meet at a sharp point.
Start with a coarse 100-grit file for initial shaping, then switch to 180-grit for refinement. Work in one direction only—never saw back and forth, as this weakens the nail structure. Angle maintenance becomes crucial here; check your progress frequently by viewing the nail head-on.
For strength conditioning, apply gentle pressure and file in smooth, controlled strokes. This technique prevents heat buildup that can damage natural nails. Remember, you’re creating gradual tapers, not aggressive cuts that compromise durability.
Shaping Common Mistakes
Even though you’ve practiced the basic filing technique, several common mistakes can transform your stiletto aspirations into nail nightmares.
You’ll often create an uneven apex by rushing the shaping process, resulting in crooked tips that lean to one side. Overfiling damage occurs when you’re too aggressive with your file, thinning the nail walls until they’re prone to breakage.
Watch out for these critical errors:
- Filing back and forth instead of using one-directional strokes
- Ignoring cuticle snags that catch on clothing and hair
- Skipping the buffer to smooth rough edges
- Creating points that are too sharp for daily wear
- Failing to maintain consistent angles on each nail
Salon miscommunication frequently happens when you can’t articulate your desired length and sharpness, leading to disappointing results.
Applying Base Coat and Foundation Polish Techniques
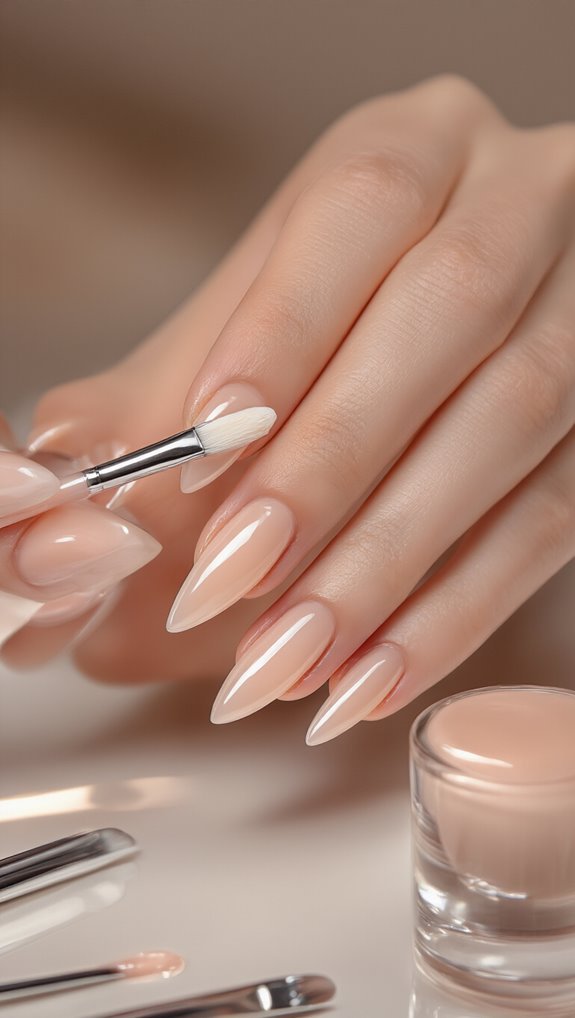
Before you reach for your favorite polish color, you’ll need to master the foundation techniques that ensure your stiletto nail art lasts.
Start with a quality base coat applied in thin, even strokes from cuticle to tip. This protective layer prevents staining and creates the perfect canvas for your design.
Understanding color theory helps you select foundation shades that complement your skin tone and planned artwork. Warm undertones pair beautifully with corals and golds, while cool tones shine with blues and silvers.
Your brush selection makes all the difference in achieving smooth coverage on stiletto shapes. Choose a flat, wide brush for the nail bed and switch to a thinner brush for precise tip application. Apply foundation polish using the three-stroke method: center first, then each side.
Don’t overload your brush—two thin coats beat one thick layer every time. Cap the free edge to prevent chipping and extend wear.
Simple Geometric Patterns for Stiletto Nail Beginners
Now that you’ve mastered your base coat application, you’re ready to create simple geometric patterns that complement stiletto nails‘ dramatic shape.
You’ll start with basic triangle designs that naturally follow the nail’s pointed tip, then move on to simple stripe techniques that elongate the nail’s appearance.
Easy dot patterns will round out your beginner’s toolkit, giving you three versatile designs you can mix and match for endless combinations.
Basic Triangle Designs
When you’re ready to explore geometric nail art on stiletto shapes, triangle designs offer the perfect starting point for beginners. You’ll find these angular patterns complement the nail’s pointed tip naturally. Start with simple color blocking techniques using tape to create clean lines.
Apply your base coat, then position tape diagonally across the nail. Paint your chosen shade over the exposed area, remove the tape while wet, and you’ve created your first triangle.
Master these essential triangle variations:
- Single apex triangle at the nail tip
- Inverted triangle using negative space
- Side triangles along the nail edges
- Chevron patterns with multiple triangles
- Half-moon triangles at the cuticle
Practice these designs on your dominant hand first. You’ll develop steadier control before attempting intricate patterns.
Simple Stripe Techniques
Moving beyond triangles, stripes provide another accessible geometric option that works beautifully on stiletto nails. You’ll find vertical stripes especially flattering since they emphasize the nail’s elongated shape. Start with striping tape for clean lines—it’s more forgiving than freehand painting.
For a modern twist, incorporate negative space by leaving sections of your natural nail exposed between stripes. This technique creates visual breathing room and prevents overwhelming the narrow stiletto tip. Try alternating between painted stripes and bare nail sections for an elegant effect.
Color blocking with stripes opens endless possibilities. You can create bold statements using contrasting colors or subtle sophistication with tonal variations. Position wider stripes near the base and gradually narrow them toward the tip to complement the stiletto’s tapered silhouette.
Easy Dot Patterns
Dots frequently serve as the perfect starting point for geometric nail art, especially when you’re working with stiletto shapes for the first time. You’ll find that creating dot patterns requires minimal skill while delivering maximum impact.
The elongated canvas of stiletto nails gives you plenty of space for creative polka placement along the nail’s length.
Start with these essential techniques:
- Use a dotting tool or bobby pin for consistent sizing
- Work from base to tip for balanced spacing
- Create contrasting dots with complementary colors
- Let each layer dry completely before adding overlapping designs
- Practice pressure control for varying dot sizes
You can arrange dots in straight lines, curves, or scattered patterns. The pointed tip naturally draws attention, so consider clustering smaller dots there for a gradient effect.
Adding Glitter and Metallic Accents to Your Design
After you’ve mastered the basic techniques, glitter and metallic accents can transform your stiletto nails from simple to stunning. You’ll find these embellishments add dimension and catch light beautifully on stiletto shapes.
Start with loose glitter by applying it over wet polish using a small brush. For precision, use tape to create clean lines. Holographic flakes create an ethereal rainbow effect when layered over dark bases. Apply them with tweezers for controlled placement.
| Accent Type | Application Method |
|---|---|
| Fine Glitter | Pat with sponge |
| Chunky Glitter | Press individually |
| Chrome Powder | Rub with applicator |
| Foil Sheets | Press and peel |
Magnetic powders offer unique patterns when you hold a magnet over wet polish containing iron particles. The magnetic field creates waves and lines impossible to achieve manually. Seal everything with two coats of top coat to prevent chipping. Mix different metallics for custom effects that complement your stiletto nail’s dramatic shape.
Using Nail Stamps and Stickers on Pointed Tips
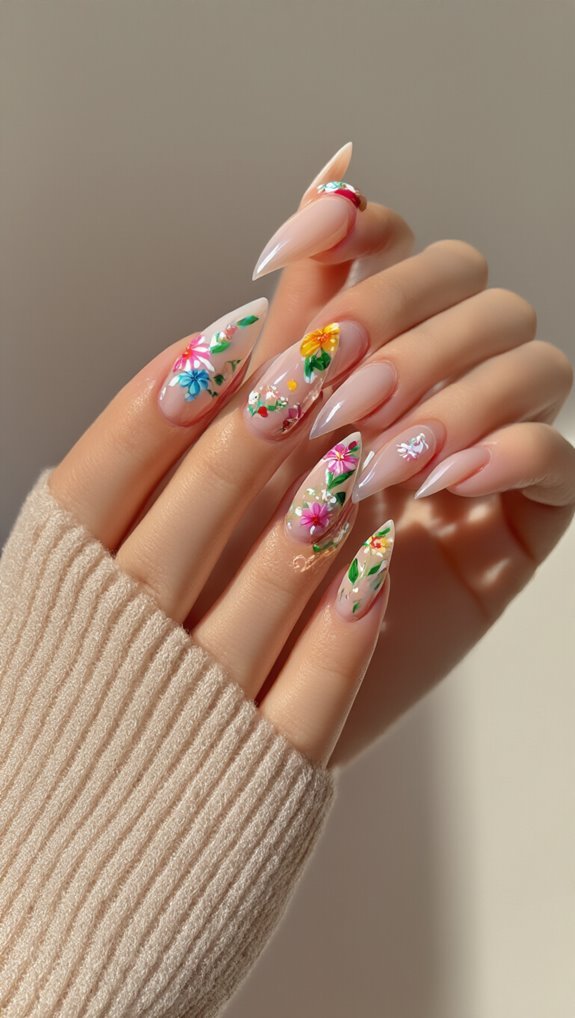
Beyond metallic accents and glitter, nail stamps and stickers offer another creative avenue for decorating stiletto nails with intricate designs that would take hours to paint by hand. You’ll need steady hands for placement precision on the tapered surface, but the results are worth it.
Start by selecting curved decals that complement your nail’s shape. Press stamps firmly from the base upward, following the nail’s natural contour. For stickers, use tweezers to position them accurately before sealing.
Key techniques for successful application:
- Roll stickers from center outward to eliminate air bubbles
- Trim excess material with nail scissors at the tip’s edge
- Apply thin topcoat layers to prevent peeling on pointed ends
- Choose flexible vinyl stickers over rigid paper options
- Test stamp pressure on practice tips before applying
Mastering Ombre Effects on Stiletto Nails
While ombre techniques work on any nail shape, stiletto nails provide an extended canvas that showcases gradient transitions beautifully from base to pointed tip. You’ll need a makeup sponge, your chosen polish colors, and a steady hand to create this stunning effect.
Start by applying your lightest shade as a base coat. Once dry, paint stripes of your selected colors directly onto a slightly damp makeup sponge, overlapping them slightly for seamless gradient blending. Dab the sponge onto your nail, starting at the tip and working downward. You’ll notice the colors merge naturally where they meet.
For sharper color transitions, use fewer dabs and less overlap on the sponge. For softer gradients, overlap more and dab multiple times. The stiletto’s length lets you experiment with three or even four colors.
Clean up excess polish around your cuticles with a small brush dipped in acetone, then seal everything with a glossy top coat.
Incorporating Rhinestones and 3D Embellishments
Transform your stiletto nails into miniature works of art by adding rhinestones and 3D embellishments that catch light and turn heads. You’ll need nail glue, tweezers, and a steady hand to achieve professional results. Start with strategic rhinestone placement at the cuticle area or along the nail’s centerline for maximum impact.
Essential techniques for stunning embellishments:
- Apply a clear base coat before adding any 3D textures
- Use wax-tipped tools for precise rhinestone placement
- Create focal points with larger gems surrounded by smaller ones
- Seal edges with top coat to prevent lifting
- Mix flat-back pearls with crystals for dimension
Don’t overcrowd your design—less is more when working with stiletto shapes. Focus embellishments on accent nails while keeping others simple. Build 3D textures gradually, layering smaller elements before larger ones. Let each layer dry completely before adding the next.
Finish with two thin coats of gel top coat, capping the free edge to lock everything in place.
Sealing and Protecting Your Stiletto Nail Art
Once you’ve perfected your stiletto nail art design, proper sealing techniques will determine whether your masterpiece lasts days or weeks. You’ll need a high-quality top coat specifically formulated for nail art protection. Apply thin, even layers starting from the base and sweeping toward the pointed tip. Don’t forget to cap the edges—this prevents chipping and peeling.
For maximum durability, consider using nail armor products that create a protective shield over delicate embellishments and intricate designs. These specialized formulas bond with your artwork while maintaining clarity and shine. Apply your first coat, let it dry completely, then add a second layer for reinforcement.
Reapply top coat every 2-3 days to maintain protection, especially on stiletto tips that experience more wear. Quick-dry formulas work well for maintenance coats, but invest in a professional-grade sealer for initial application. Your dedication to proper sealing ensures your stiletto nail art remains stunning throughout its wear.
Frequently Asked Questions
How Long Do Stiletto Nails Typically Last Before Needing Maintenance?
You’ll typically get 2-3 weeks of wear longevity from stiletto nails before they need maintenance.
If you’re using gel or acrylic, you’ll notice growth at the base and potential lifting at the tips.
Your seasonal wear habits affect durability – summer activities like swimming can weaken them faster.
You’ll need fill-ins every 2-3 weeks and should schedule complete replacements every 6-8 weeks to maintain their sharp, pristine appearance.
Can Stiletto Nails Damage Your Natural Nail Bed Permanently?
Yes, stiletto nails can cause permanent damage if you’re not careful. You’ll risk nail bed separation and long term thinning when excessive length puts stress on your natural nails.
Improper removal often leads to cuticle trauma that won’t fully heal. You’re more likely to experience permanent damage if you continuously wear them without breaks, file too aggressively, or forcefully remove them instead of soaking them off properly.
What’s the Average Cost of Professional Stiletto Nail Art Services?
You’ll typically pay $40-$80 for professional stiletto nail art services, though the price range varies significantly by location and complexity.
When doing a salon comparison, you’ll find basic stiletto shaping costs around $30-$50, while intricate designs with gems or hand-painted art can exceed $100. High-end salons in major cities often charge $75-$150.
Don’t forget to factor in maintenance fills every 2-3 weeks, which usually cost $25-$40.
Are Stiletto Nails Practical for Typing and Daily Activities?
You’ll face typing challenges with stiletto nails since they’re significantly longer and sharper than natural nails.
They’re not the most practical choice for everyday tasks.
You’ll need daily adaptations like using your fingertips’ sides for typing, being extra careful when handling small objects, and adjusting how you button clothes or open cans.
Many people find shorter stiletto styles more manageable, though you’ll still need time to adjust your movements.
How Do You Safely Remove Stiletto Nail Extensions at Home?
You’ll need pure acetone for safe removal, though acetone alternatives like rubbing alcohol work slower.
First, file down the stiletto’s length and buff the surface.
Soak cotton pads in acetone, place them on each nail, and wrap with foil for 15-20 minutes.
This causes acrylic breakdown, softening the extensions.
Gently push off the loosened product with a cuticle pusher.
Don’t force removal—re-soak if needed to prevent nail damage.
Conclusion
You’ve now mastered the basics of stiletto nail art! With practice, you’ll refine your shaping technique and develop your own signature style. Don’t worry if your first attempts aren’t perfect – even professional nail artists started as beginners. Keep experimenting with different patterns, colors, and embellishments to discover what works best for you. Remember to maintain your stiletto nails regularly and always protect your artwork with a quality top coat for lasting results.