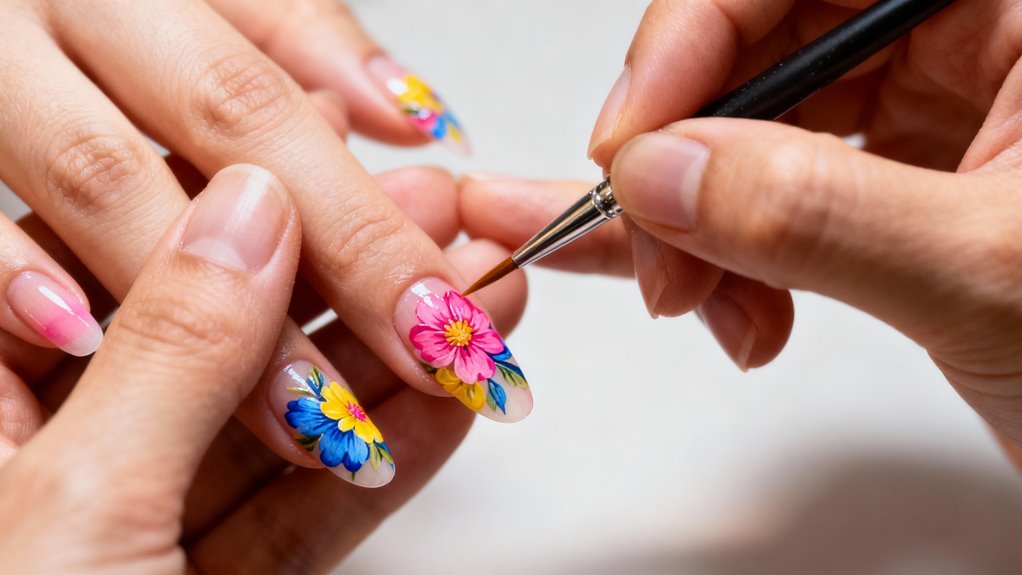
You’ll start your flower nail art journey by gathering essential tools like dotting tools, thin brushes, and colorful polishes. First, prep your nails with proper filing and buffing, then apply a smooth base coat. Create simple daisies using five dots around a center, or try dot flowers with varying sizes. For cherry blossoms, paint five rounded petals and blend colors while wet. Add stems and leaves for detail, then seal everything with topcoat. Master these basics and you’ll discover advanced techniques for roses, branches, and professional finishing touches.
Key Takeaways
- Start with proper nail preparation: remove old polish, shape nails, buff surface lightly, and apply thin base coat for better design adhesion.
- Begin with simple dot flowers: create a center dot, then add five smaller dots around it using dotting tools.
- Paint basic daisies by making a yellow center dot and adding five evenly spaced white petals in a clock-face pattern.
- Use thin liner brushes to add stems and leaves, creating teardrop-shaped leaves with lighter green centers for dimension.
- Seal your flower design with thin, even topcoat layers, capping the free edge to prevent chipping and extend wear.
Essential Tools and Materials You’ll Need
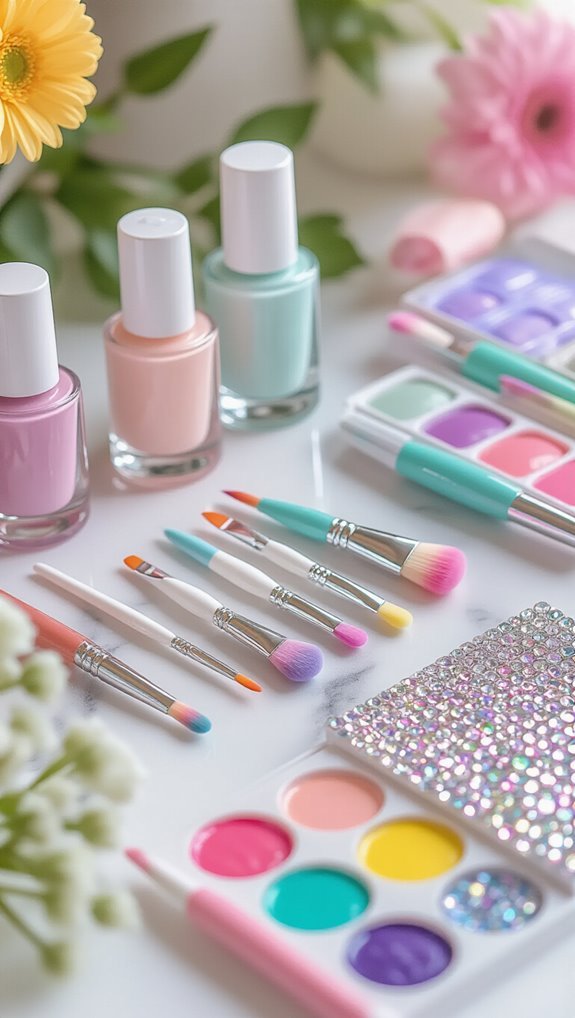
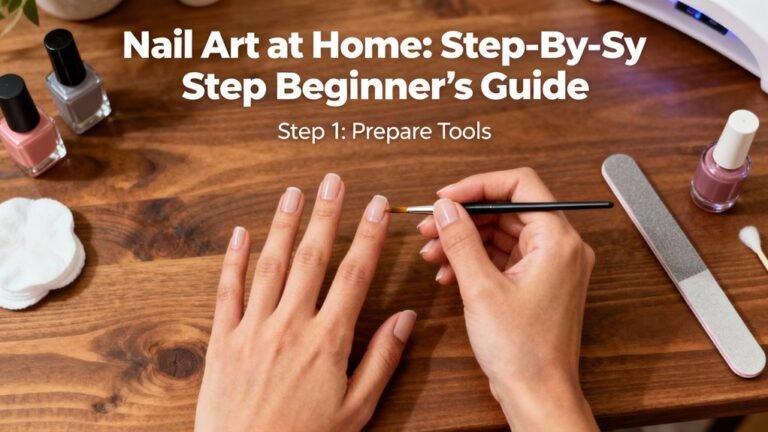
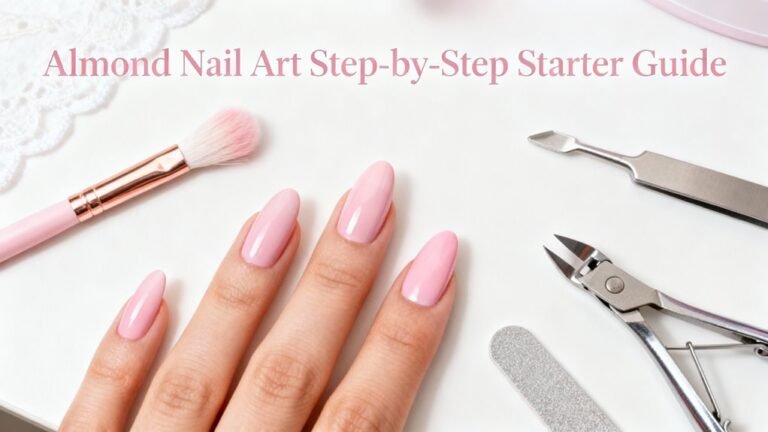
Before you create stunning flower nail art, you’ll need to gather the right tools that’ll make the process smooth and enjoyable. Start with dotting tools in various sizes for creating petals and centers. You’ll also need thin brushes for stems and leaves, plus a steady base coat and top coat to protect your design.
Choose eco friendly polishes in colors that suit your flower vision—think soft pinks, vibrant reds, yellows, and greens for leaves. While nail art history shows artists once relied on toothpicks and bobby pins, today’s specialized tools give you better control and precision.
Don’t forget nail polish remover and cotton swabs for quick corrections. A palette or piece of foil works perfectly for mixing custom shades. You’ll want acetone-free options to keep your nails healthy. Finally, grab some striping tape for creating clean lines and geometric flower patterns. These essentials will set you up for beautiful floral designs.
Preparing Your Nails for Flower Art
Before you create beautiful flower designs, you’ll need to prep your nails properly for the best results.
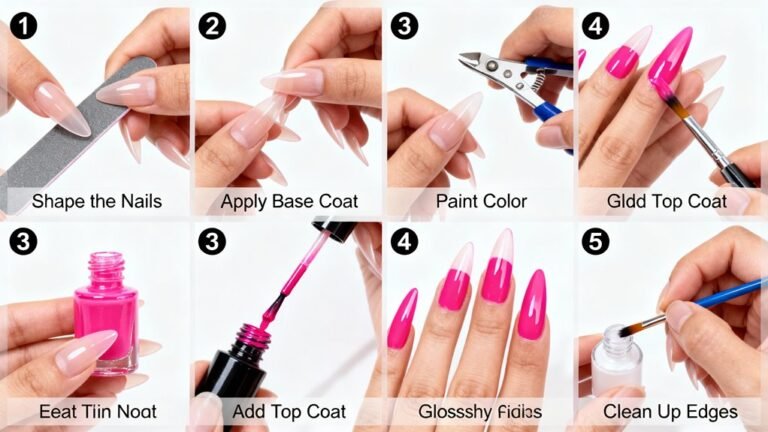
Start by cleaning your nails thoroughly and shaping them to your preferred length, then apply a smooth base coat to protect your natural nail and help the polish adhere better.
You’ll also want to gently buff the surface to remove any ridges or imperfections that might interfere with your flower art.
Clean and Shape
Transform your nails into the perfect canvas for flower art by starting with proper preparation. Remove old polish completely and wash your hands with soap to ensure optimal nail hygiene.
Push back your cuticles gently with an orange stick, then apply cuticle oil to nourish the surrounding skin. Let it absorb for two minutes before wiping excess.
File your nails in one direction using smooth strokes for precise edge filing. Don’t saw back and forth—you’ll create weak spots.
Choose your preferred shape: round, square, or oval work beautifully for flower designs. Check shape symmetry by comparing each nail against its opposite hand counterpart.
Buff the surface lightly to remove ridges and create a smooth base. You’re now ready to apply your base coat and begin creating stunning floral art.
Base Coat Application
With your nails perfectly shaped and buffed, you’ll want to apply a base coat that creates the ideal foundation for your flower designs.
First, ensure complete oil removal by wiping each nail with rubbing alcohol or nail dehydrator. This step’s crucial for proper adhesion and long-lasting nail health.
Apply thin, even strokes from cuticle to tip, covering the entire nail surface. Don’t flood the cuticles or sidewalls. Cap the free edge by swiping horizontally across the tip to prevent chipping.
The proper drying time is typically two to three minutes, though quick-dry formulas work faster.
For optimal results, check your bottle storage. Keep base coats upright in a cool, dark place to maintain consistency.
If the formula’s thickened, add a few drops of nail polish thinner—never use remover.
Surface Buffing Techniques
Surface buffing regularly creates the smooth, even canvas that’ll make your flower designs pop and adhere properly. You’ll need a 180-220 grit buffer for natural nails or a finer 240 grit for thin, sensitive ones. Your grit selection directly impacts how well polish adheres without damaging the nail plate.
Start with gentle, horizontal buffing strokes across each nail’s surface, moving from cuticle to tip. Don’t overscrub the same spot—you’re smoothing ridges, not thinning the nail. Work systematically across all ten nails using consistent pressure. You’ll know you’ve achieved the right texture when your nail feels slightly rough but looks uniformly matte. This micro-textured surface grips your base coat better than glossy nails, ensuring your intricate flower art won’t chip prematurely.
Basic Five-Petal Daisy Design Tutorial
Grab your dotting tool and white polish to create the classic five-petal daisy that’ll become your go-to floral design. You’ll start with a yellow center dot, then add five evenly spaced white petals around it. Understanding floral color theory helps you choose complementary shades that make your daisies pop against any base color.
Here’s what you’ll need for perfect petals:
- Consistent pressure – Apply the same force when creating each petal dot to ensure uniform size
- Equal spacing – Imagine a clock face and place petals at 12, 2, 5, 7, and 10 o’clock positions
- Quick placement – Work swiftly before the polish starts drying to maintain smooth edges
Once you’ve mastered the basic technique, you can explore seasonal daisy variations by switching colors—try orange centers with burgundy petals for fall or pink centers with lavender petals for spring. Always seal your design with a quality top coat.
Creating Simple Dot Flowers With a Dotting Tool
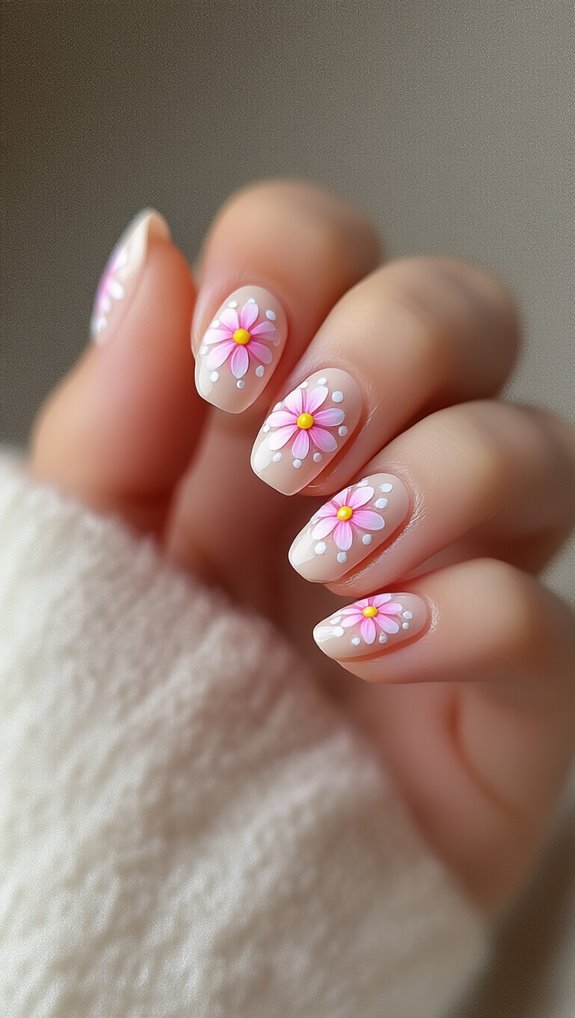
Beyond the classic daisy, you can expand your floral repertoire using just your dotting tool and a few polish colors. Start by creating a center dot with your chosen shade, then add five smaller dots around it in a contrasting color. This simple technique forms instant blooms that’ll transform your nails.
For variety, experiment with dot placement patterns. Try clustering three dots in a triangle formation for tiny buds, or arrange dots in a curved line to suggest flower stems. You’ll achieve different effects by varying dot sizes—use the ball end for larger petals and the pointed end for delicate details.
Contrast sharing between flowers creates visual harmony. If you’re using pink centers, alternate between white and coral petals across different blooms. This technique ties your design together without looking repetitive. Remember to let each layer dry completely before adding neighboring dots to prevent colors from bleeding together.
Painting Cherry Blossoms Step by Step
You’ll start your cherry blossoms by applying a soft pink or white base color to create the perfect canvas for your delicate design.
Next, you’ll master the five-petal technique using a thin brush to paint each blossom with gentle, curved strokes that overlap at the center.
Finally, you’ll add thin brown branches with small dots and lines to connect your blossoms and complete the elegant Japanese-inspired look.
Base Color Application
Start with a clean, dry nail and apply your chosen base color in thin, even strokes from cuticle to tip.
You’ll want to create the perfect canvas for your cherry blossoms, so choose wisely between these popular base options:
- Soft pink polish – Creates a delicate, feminine backdrop that mimics spring skies
- Nude or white base – Offers maximum contrast to make blossoms pop
- Ombre gradients – Blend two complementary shades for depth and visual interest
Don’t rush this step.
Apply two thin coats rather than one thick layer to prevent bubbling and ensure faster drying.
If you’re feeling adventurous, add subtle glitter accents to the base before it dries completely.
This’ll give your cherry blossoms a magical, dimensional effect that catches light beautifully.
Petal Painting Technique
With your base color perfectly dry, grab a thin nail art brush or dotting tool to create delicate cherry blossom petals. Dip your brush in light pink polish and paint five small, rounded strokes radiating from a central point. Don’t worry about perfect symmetry—cherry blossoms look more natural with slight variations.
For watercolor petals, thin your polish with a drop of acetone before applying. This creates a translucent, dreamy effect that’s perfect for spring designs. You’ll achieve gradient layering by adding darker pink at each petal’s base while the polish is still wet, then gently blending outward with your brush tip.
Work quickly but steadily—you want the colors to merge seamlessly. Add multiple blossoms across your nail, varying their sizes and positions for an authentic look.
Branch Detail Work
After your petals have dried completely, it’s time to add the defining branches that’ll bring your cherry blossom design to life. You’ll create delicate branch structures using a thin liner brush and dark brown polish.
Here’s how to perfect your branch technique:
- Draw the main branch – Start from the nail’s edge and paint a slightly curved line across your nail
- Add smaller offshoots – Create 2-3 thin branches extending from the main one at natural angles
- Include twig embellishments – Dot tiny buds along the branches using light pink polish
Keep your brush at a 45-degree angle for smooth, tapered lines. Between strokes, maintain proper brush care by wiping excess polish on a lint-free pad. This prevents clumping and ensures crisp, professional-looking branches every time.
Mastering the Classic Rose Design
Paint your way to stunning rose designs by learning the fundamental swirl technique that forms the heart of this timeless nail art.
You’ll start with a small circular base using your chosen polish color. While it’s still wet, grab a thin brush and create curved strokes from the center outward, mimicking natural petal formations. Work quickly to blend the edges before the polish dries.
For vintage roses, you’ll want muted pinks, creams, or dusty mauves that capture that antique charm. Understanding color symbolism helps you customize your designs—red represents passion, yellow conveys friendship, and white suggests purity.
Add depth by layering darker shades at the petal bases and lighter tones at the tips. Don’t forget the finishing touches: tiny green leaves and delicate highlights bring your roses to life.
Practice this technique on paper first, then transfer your newfound skills to your nails.
Adding Leaves and Stems to Your Floral Designs
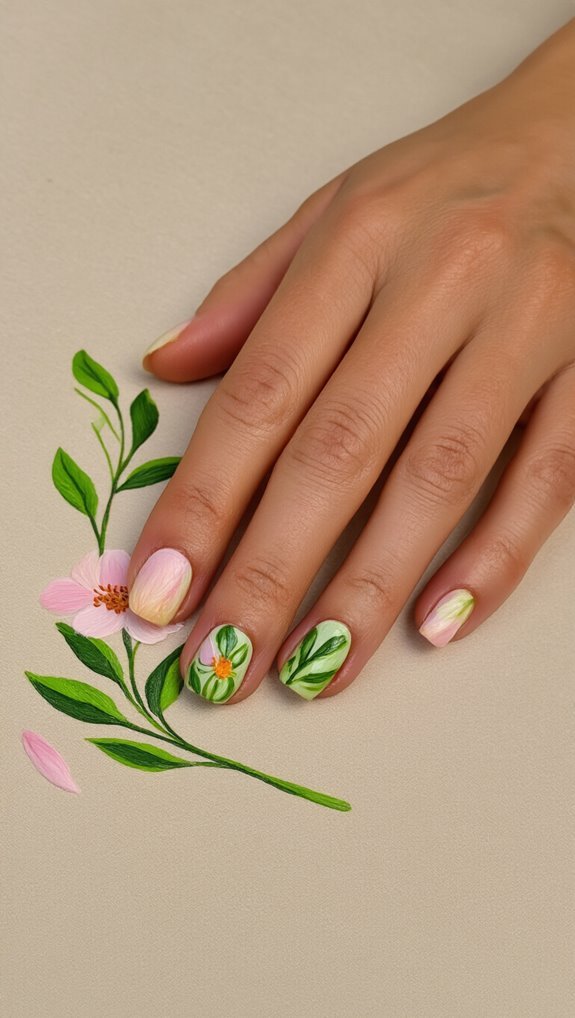
Now that you’ve perfected your rose petals, you’ll need complementary greenery to complete your floral masterpiece. Creating realistic leaves requires attention to detail and proper technique. Start with a fine brush dipped in forest green polish, then add lighter shades for natural leaf gradients that bring depth to your design.
Here’s how to create stunning greenery:
- Paint the base leaf – Draw a simple teardrop shape, starting thick at the base and tapering to a point
- Add dimension – Apply a lighter green down the center, blending outward for realistic leaf gradients
- Create veins – Use a detail brush with darker green to draw thin lines from center to edges
Strategic stem placement connects your flowers naturally. Position stems diagonally across the nail, avoiding straight vertical lines that look stiff. You’ll achieve better flow by curving stems slightly and varying their thickness. Remember, stems should appear to support your flowers, not overpower them.
Color Combinations That Make Flowers Pop
Selecting the right color combinations transforms ordinary floral nail art into eye-catching masterpieces. You’ll achieve stunning results by pairing complementary colors that naturally enhance each other. Bold contrasts like deep purple flowers on mint green backgrounds or bright orange blooms against navy blue create dramatic visual impact that demands attention.
For softer looks, you can’t go wrong with pastel gradients. Try blending baby pink petals into peach centers, or transition from lavender to sky blue across your flower designs. These gentle color shifts add dimension without overwhelming your overall nail aesthetic.
Consider your base color carefully—it’s the canvas that’ll make your flowers shine. White or nude bases let vibrant blooms take center stage, while black backgrounds make neon flowers practically glow. Don’t forget metallic accents; gold or silver centers instantly elevate simple daisies into elegant statement pieces. Test combinations on practice wheels before committing to your nails.
Fixing Common Mistakes and Touch-Up Techniques
Even the steadiest hands make mistakes when creating intricate flower designs, but you don’t need to start over from scratch.
You’ll master quick smudge repairs using a clean brush dipped in acetone to carefully erase and redraw affected areas without disturbing the surrounding polish. When petals look lopsided or misshapen, you can adjust their curves by adding tiny dots of polish along the edges or using a toothpick to gently pull the wet polish into smoother lines.
Smudge Repair Methods
Nothing puts a damper on your nail art enthusiasm quite like accidentally smudging a perfectly painted petal or dragging your brush through wet polish.
Don’t panic—these quick fixes will save your design without starting over.
Essential smudge repair techniques:
- Gentle smoothing – Lightly dampen your fingertip with polish remover and gently pat the smudged area to smooth it out
- Polish patching – Apply a tiny drop of matching polish over the damaged spot, then blend the edges with a clean brush
- Strategic covering – Add an extra leaf or decorative dot to cleverly disguise the mistake
For severe smudges, you’ll need to remove the affected petal completely with a cotton swab dipped in acetone, then repaint just that section.
Work quickly before the surrounding polish fully dries.
Petal Shape Corrections
When your rose petals look more like blobs or your daisies resemble starfish, you’ll need these shape correction techniques to transform wonky flowers into botanical beauties. You can fix uneven petals by adding small dots of polish to fill gaps and achieve petal symmetry. Use a toothpick dipped in acetone to carefully reshape bulky edges.
| Problem | Tool | Fix Method |
|---|---|---|
| Lopsided petals | Dotting tool | Add dots to smaller side |
| Thick edges | Clean brush | Remove excess with acetone |
| Gaps between petals | Thin brush | Apply edge blending strokes |
| Pointy tips | Orange stick | Round with gentle pressure |
For seamless edge blending, drag a barely-wet brush along petal borders while the polish is tacky. This technique softens harsh lines and creates natural-looking transitions between colors.
Sealing and Protecting Your Flower Nail Art
After you’ve spent time creating your beautiful flower nail art, you’ll want to ensure it lasts as long as possible. Proper sealing techniques protect your design from chipping, smudging, and fading while maintaining vibrant colors.
Consider these essential topcoat options for maximum protection:
- Quick-dry topcoat – Sets your design in 60 seconds, preventing accidental smudges
- Gel-like topcoat – Provides glossy finish and extends wear up to 10 days
- Matte topcoat – Creates sophisticated contrast when applied selectively over flower details
Apply thin, even layers starting from the cuticle to the tip. Don’t forget to cap the free edge—this creates effective moisture barriers that prevent water damage and peeling.
You’ll need to reapply topcoat every 2-3 days for optimal protection.
For 3D elements or thick designs, use two topcoat layers, allowing complete drying between applications.
This extra step ensures your flower art stays intact through daily activities.
Frequently Asked Questions
How Long Does Flower Nail Art Typically Last Before Needing Removal?
Your flower nail art typically lasts 5-7 days with regular polish or 2-3 weeks with gel polish before you’ll need removal.
The wear time depends on your daily activities and the quality of your top coat.
You’ll find that seasonal trends influence durability too – summer’s humidity can shorten longevity, while winter designs often last longer.
You can extend wear time by applying thin layers and sealing the tips properly.
Can I Create Flower Designs on Gel or Acrylic Nails?
Yes, you can absolutely create flower designs on both gel and acrylic nails!
Gel possibilities include using gel polish for delicate petals or 3D gel for raised blooms that’ll cure under UV light.
Acrylic textures offer unique advantages too – you can embed dried flowers directly into the acrylic or sculpt dimensional petals.
Both surfaces accept regular nail polish, so you’re free to paint any flower design you’d like on either base.
What’s the Average Time Needed to Complete Flower Nail Art?
You’ll typically need 30-60 minutes to complete flower nail art, depending on design complexity. Simple daisies take about 30 minutes, while intricate roses require closer to an hour.
Your chosen drying techniques significantly impact timing – UV lamps speed things up, while air-drying adds 15-20 minutes between layers.
Seasonal trends also affect duration; spring’s delicate blooms are quicker than winter’s detailed poinsettias.
Practice reduces your completion time considerably.
Is Flower Nail Art Suitable for Short Nails?
Yes, you can definitely create beautiful flower nail art on short nails! Your short length actually works well with compact patterns that won’t overwhelm the nail space.
You’ll want to choose smaller, simpler flower designs like tiny daisies or single petals rather than elaborate roses. Focus on one accent flower per nail or create miniature bouquets. The key is scaling down your design to complement your nail’s natural proportions perfectly.
How Much Does Professional Flower Nail Art Typically Cost at Salons?
You’ll typically pay $35-$80 for professional flower nail art at salons, depending on complexity and location.
Basic designs start around $35, while intricate 3D flowers can reach $80+.
Pricing tiers vary by technique—hand-painted florals cost more than stamped designs.
You’ll find seasonal discounts during slower months like January and September, often 15-20% off.
High-end salons charge premium rates, but neighborhood shops offer budget-friendly options starting at $25.
Conclusion
You’ve now mastered the basics of flower nail art! With these techniques, you’ll create stunning floral designs that’ll impress everyone. Remember, practice makes perfect, so don’t worry if your first attempts aren’t flawless. Keep experimenting with different flower styles, color combinations, and tools. You’ll develop your unique style over time. Most importantly, have fun with it! Your creativity’s the only limit, so grab your polish and start painting those beautiful blooms on your nails today.