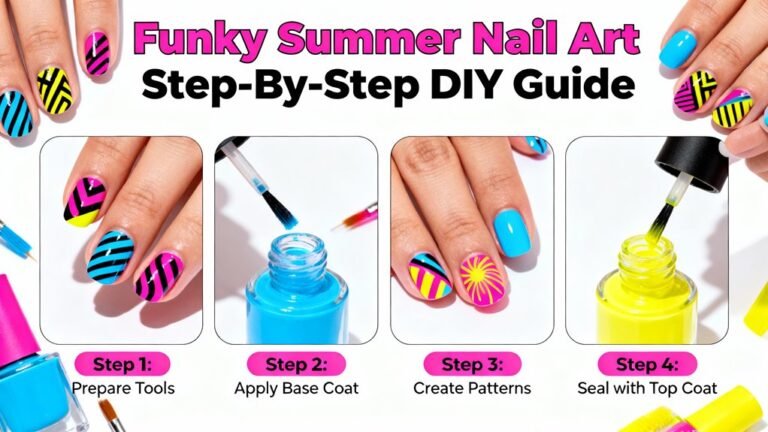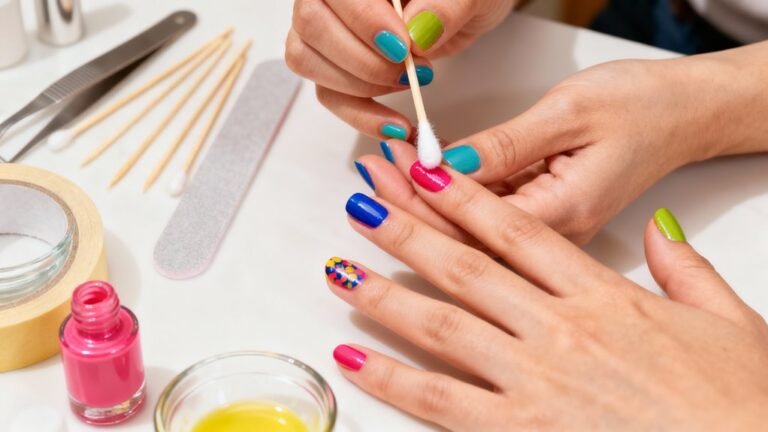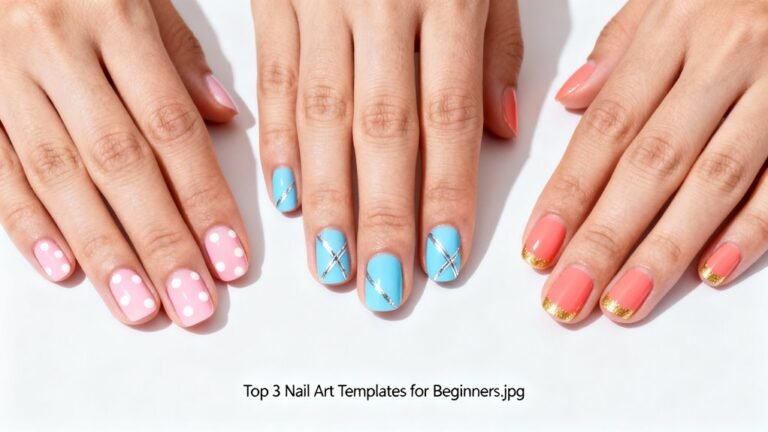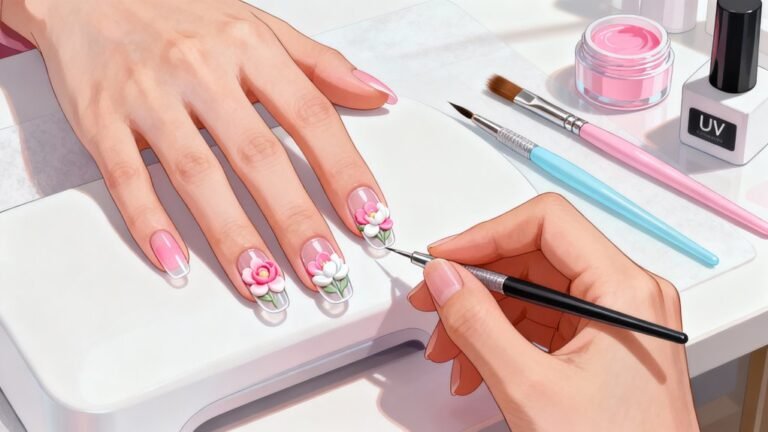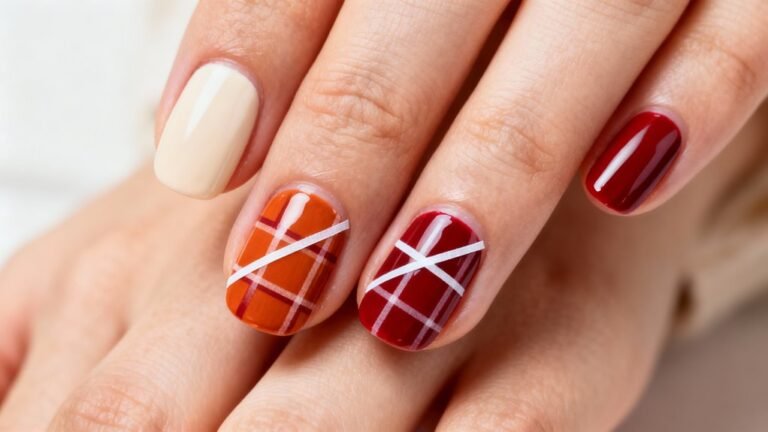
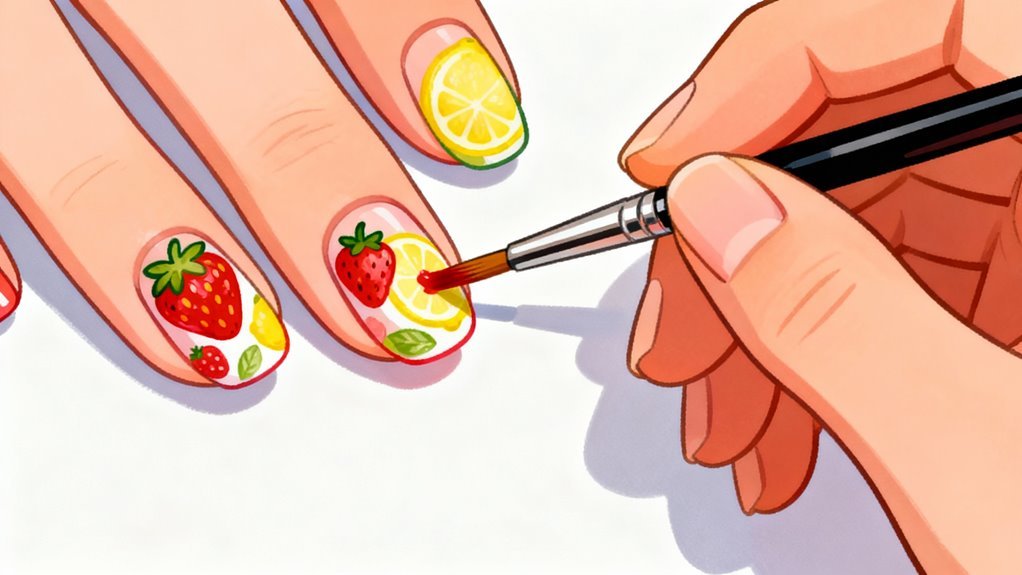
You’ll create stunning fruit nail art with just basic polishes and simple tools like dotting tools and thin brushes. Start by prepping your nails with a base coat, then apply your chosen base color—bright yellow for pineapples, pink for watermelon, or white for citrus designs. Use dotting tools to add strawberry seeds, watermelon seeds, or grape clusters, and thin brushes for stems and details. These beginner-friendly techniques will help you master everything from cherry patterns to kiwi slices.
Key Takeaways
- Start with proper nail preparation: remove old polish, file nails, push back cuticles, and apply base coat before any fruit design.
- Use simple tools like dotting tools, toothpicks, and thin brushes to create fruit details like seeds, segments, and stems.
- Begin with easy designs like strawberries: red base, white dots for seeds, and green leaves at the nail base.
- Apply fruit designs in thin layers, allowing each coat to dry 2-3 minutes to prevent smudging and ensure clean details.
- Seal finished fruit nail art with a glossy top coat to protect the design and add shine for professional-looking results.
Essential Tools and Materials for Fruit Nail Art
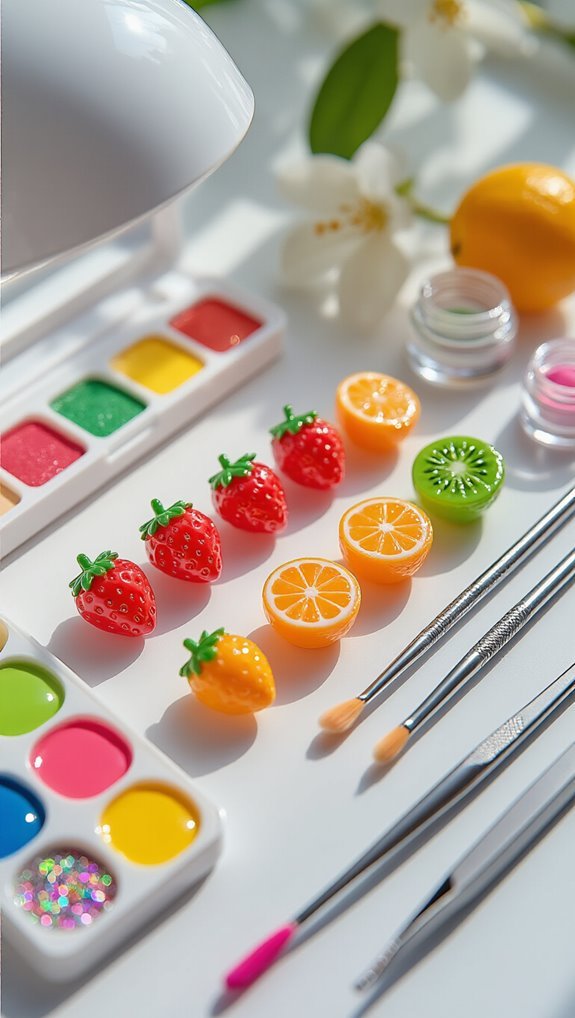
Before you create your first strawberry or watermelon design, you’ll need to gather the right tools and materials that make fruit nail art possible.
Start with quality nail polishes in vibrant shades—reds for strawberries, greens for kiwis, and yellows for lemons. Understanding basic color theory helps you mix custom shades and create realistic fruit tones that pop against your base coat.
You’ll need thin detail brushes for seeds and segments, dotting tools for texture, and a steady hand for precision work. When ingredient sourcing, prioritize non-toxic, quick-drying formulas that won’t smudge during detailed work.
Don’t forget essentials like base coat, top coat, and nail polish remover for corrections.
Invest in striping tape for clean lines between fruit sections and a small palette for mixing colors. Toothpicks work wonderfully for creating tiny details like strawberry seeds.
With these tools ready, you’re equipped to transform your nails into miniature fruit masterpieces.
Basic Nail Preparation and Base Coat Application
Once you’ve assembled your tools, you’ll need to properly prepare your nails to ensure your fruit designs last and look professional. Start with complete polish removal using acetone-free remover to protect your cuticle health. File your nails into your preferred shape, keeping edges smooth to prevent chipping.
Follow these essential prep steps:
- Push back cuticles gently with an orange stick
- Buff nail surfaces lightly to create texture for adhesion
- Clean nails with rubbing alcohol to remove oils
- Apply cuticle oil, then wipe excess from nail plates
Now you’re ready for base coat application. Apply thin, even strokes from cuticle to tip, capping the free edge. This protective layer prevents staining and helps your fruit art adhere better. Let it dry completely for two minutes before moving to your design. Proper preparation makes the difference between nail art that chips immediately and designs that last a full week.
Simple Strawberry Design Tutorial
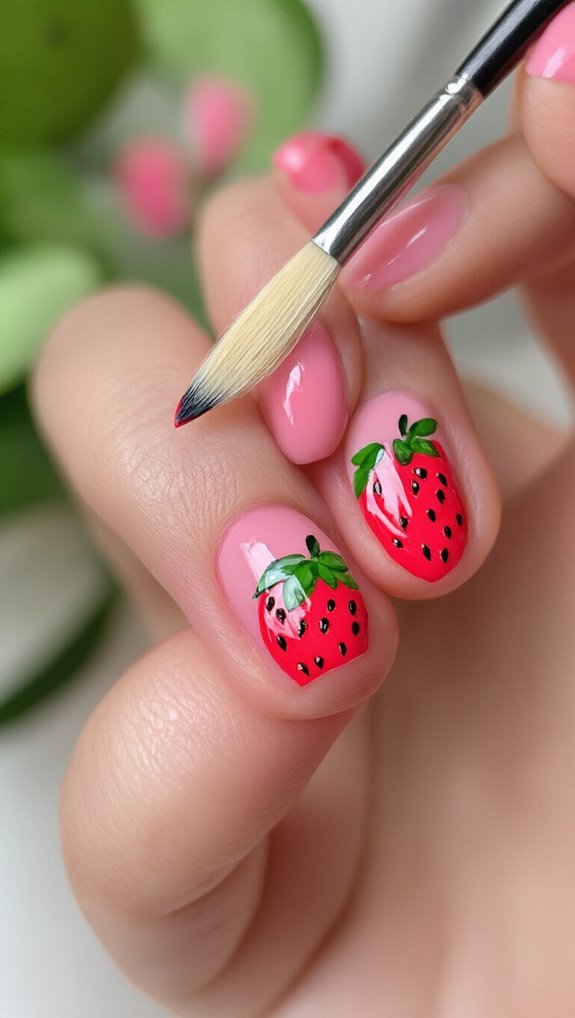
You’ll transform your nails into adorable strawberries with just a few basic tools and simple painting techniques. First, you’ll gather a red polish, green polish, dotting tool, and thin brush for creating the signature strawberry details.
Then you’ll follow a straightforward application process that builds the fruit’s shape, adds seeds, and finishes with leafy tops.
Tools You’ll Need
While professional nail artists might’ve extensive collections of specialized tools, you can create an adorable strawberry design with just a few basic items from your local beauty supply store.
You’ll need:
- Base and top coat – Essential for protecting your natural nails and sealing your design
- Red and green polish – Understanding color theory helps you choose vibrant shades that pop
- Dotting tool or toothpick – Perfect for creating strawberry seeds and leaf details
- Small detail brush – Ideal for painting delicate stems and highlights
Don’t worry about following every seasonal trend; these versatile tools work year-round.
You probably already own most items.
If you’re missing something, drugstore alternatives work wonderfully.
A bobby pin substitutes for a dotting tool, and you can cut regular brushes shorter for precision work.
Paint Application Steps
Now that you’ve gathered your supplies, let’s put them to use with this beginner-friendly strawberry design. Start by applying a red base coat to your entire nail.
Once it’s dry, you’ll create the strawberry’s texture using proper brush handling techniques. Dip a thin detail brush into white polish and dot small seeds across the nail’s surface. Don’t overcrowd them—five to seven seeds work perfectly.
Next, apply color theory principles by mixing a drop of green with yellow to create the perfect leafy shade. Using short, controlled strokes, paint three small leaves at your nail’s base, forming a simple crown.
Add a tiny stem with a single upward stroke. Finish with a clear top coat to seal your design and add shine. You’ve just completed your first fruit nail art.
Easy Watermelon Slice Nail Art
You’ll transform your nails into juicy watermelon slices with just a few basic supplies and simple techniques.
First, you’ll gather your polishes and tools, then apply the perfect pink base that mimics the fruit’s flesh.
Finally, you’ll add the signature green rind and black seeds to complete your refreshing summer design.
Required Nail Supplies
Creating adorable watermelon slice nail art starts with gathering the right supplies. You’ll need specific tools and polishes to achieve that perfect summery look on your fingertips.
Here’s what you’ll need:
- Base and top coat – protects your natural nails and seals your design
- Three polish colors – pink or red, white, and green following basic color theory
- Black polish or pen – creates realistic watermelon seeds
- Thin nail art brush – ensures precise line work between sections
You’ll also want nail safe adhesives if you’re adding rhinestone accents or 3D elements. Don’t forget cotton swabs and acetone for quick cleanup around your cuticles. A dotting tool helps create uniform seeds, though a toothpick works in a pinch. These supplies will help you master this fruity design.
Base Color Application
Once you’ve gathered your supplies, apply a thin base coat to clean, dry nails and let it dry completely. This protective layer ensures polish longevity by preventing staining and chipping.
For watermelon nail art, you’ll need two main colors. Apply two thin coats of bright pink or coral polish as your fruit’s flesh. Understanding basic color theory helps here—choose vibrant, saturated shades that mimic real watermelon’s juicy appearance. Let each coat dry thoroughly before adding the next.
Paint a green French tip along the nail’s edge to create the rind. Use a steady hand or nail guides for crisp lines. The contrast between pink and green makes your design pop. Proper base color application sets the foundation for adding seeds and details later, so don’t rush this crucial step.
Creating Watermelon Details
With your base colors fully dried, it’s time to add the signature watermelon seeds that bring your design to life.
You’ll create a realistic watermelon gradient by blending pink into white at the nail tip, mimicking the fruit’s natural fade. Use a makeup sponge to dab and blend these colors seamlessly.
For perfect seed placement, follow these steps:
- Dip a thin dotting tool into black polish
- Create small teardrop shapes in a scattered pattern
- Place 3-4 seeds on each nail for balance
- Avoid crowding seeds near the edges
Don’t overthink the arrangement—real watermelon seeds aren’t perfectly aligned.
Add a thin green line at your nail’s edge to represent the rind.
Once you’re satisfied with your design, let everything dry completely before applying your top coat.
Cheerful Cherry Pattern Step-by-Step
Grab your dotting tools and red polish because you’re about to master the sweetest cherry design for your nails. Start with a clean base coat and let it dry completely. Create vintage cherry pairs by making two red dots side by side using your largest dotting tool. Don’t worry about perfect circles—slight imperfections add charm.
Next, you’ll paint the stems. Use a thin brush dipped in dark green or brown polish to draw curved lines connecting at the top of each cherry pair. Keep the stems delicate and slightly curved outward for a natural look. For minimalist cherries, space them evenly across your nail rather than clustering them together.
Add dimension with a smaller dotting tool and darker red shade to create shadows on one side of each cherry. Finish with tiny white dots for highlights. Seal everything with a glossy top coat to make your cherries shine and last longer.
Tropical Pineapple Accent Nail Design
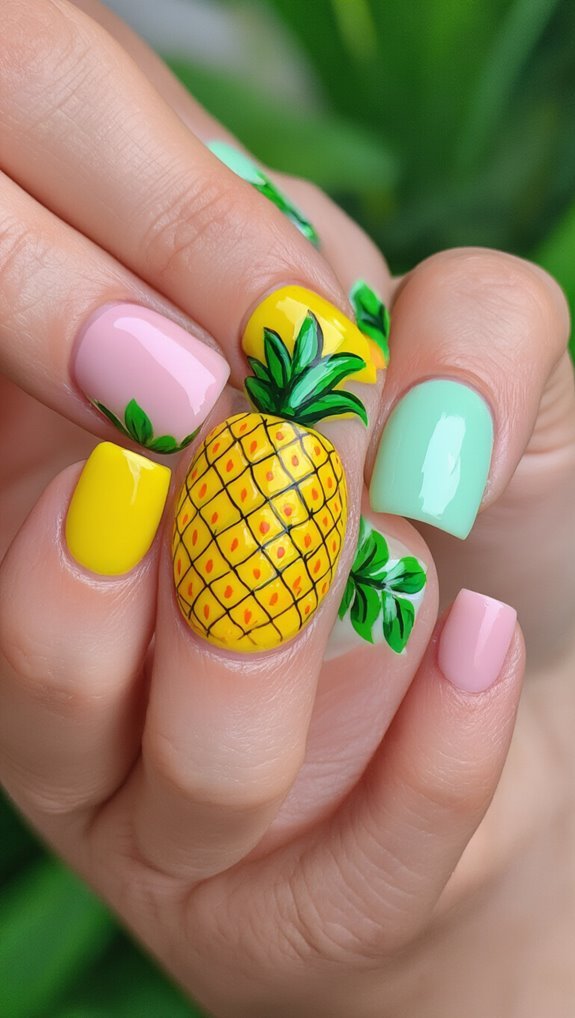
You’ll transform a single nail into a tropical masterpiece with this pineapple accent design that’s perfect for summer.
First, you’ll gather yellow and green polishes, a thin brush, and a dotting tool to create the fruit’s signature texture.
After applying your golden base, you’ll add a crosshatch pattern and crown of leaves to complete this eye-catching accent nail.
Tools You’ll Need
Before diving into this fun tropical design, let’s gather the essential supplies that’ll make your pineapple accent nail a breeze to create.
You’ll need specific tools that work with color theory principles to achieve that perfect golden-yellow pineapple shade.
Here’s what you’ll grab:
- Yellow and green nail polish – Choose vibrant shades that match seasonal trends
- Thin detail brush – For painting precise pineapple texture lines
- Dotting tool – Creates the diamond pattern effortlessly
- Top coat – Seals your tropical masterpiece
You’ll also want brown or gold polish for the crosshatch pattern that defines the pineapple’s texture.
Keep a cleanup brush and acetone nearby to fix any mistakes.
These tools transform basic polish application into professional-looking nail art that captures summer’s essence perfectly.
Base Color Application
Once you’ve assembled your tools, apply a bright yellow polish as your pineapple’s foundation color across your chosen accent nail. You’ll need two thin coats for complete opacity. Let each layer dry for three minutes before adding the next. Don’t rush this step—streaky base colors will ruin your final design.
For the remaining nails, choose complementary tropical shades. Apply coral or turquoise polish to create a cohesive manicure. If you’re feeling adventurous, try color blending techniques by dabbing two shades together while they’re still wet.
Consider using a matte finish topcoat on your background nails. This’ll make your glossy pineapple accent nail pop even more. The contrast between textures adds visual interest without overwhelming your design. Always cap the free edge when applying polish to prevent chipping.
Creating Pineapple Details
Grab your thin nail art brush and dip it into brown polish to create the signature diamond pattern that transforms your yellow base into a recognizable pineapple.
You’ll work in diagonal lines across the nail, forming the distinctive pineapple texture that makes this design pop.
Here’s how to perfect your tropical gradient crown:
- Paint small green leaves at the tip using upward strokes
- Layer darker green over lighter shades for dimension
- Add tiny yellow-green highlights between leaves
- Blend colors while they’re still wet for seamless transitions
Don’t worry about making each diamond identical—slight variations look more natural.
If you make mistakes, use a cleanup brush dipped in acetone to fix smudges.
Once you’re satisfied with the pattern, seal everything with a glossy top coat.
Citrus Wheel Tutorial for Orange and Lemon Nails
While citrus wheel designs might seem intricate at first glance, you’ll find they’re surprisingly simple to create with the right technique.
Start with a white or pale yellow base coat on your nail. Once dry, paint a circle using orange or yellow polish, leaving a thin white border around the edge.
Create citrus gradients by blending a darker shade toward the center of your wheel. Use a small dotting tool to drag polish from the center outward, forming triangular segments that resemble fruit sections. You’ll need to work quickly before the polish dries.
Add white lines between each segment using a thin nail art brush or toothpick. These dividers make your citrus wheel pop.
For realistic zest textures, dab tiny dots of white polish around the outer rim using a dotting tool.
Finish with a clear top coat to seal your design and add shine.
Quick Kiwi Fruit Nail Art Technique
Setting up your kiwi nail art takes just minutes when you follow this streamlined approach. You’ll create stunning kiwi textures that capture the fruit’s distinctive appearance with basic tools and polish colors.
Start with a pale green base coat on clean, dry nails. Once dry, you’ll build the kiwi’s signature elements:
- Apply white polish in a small circle at the nail’s center
- Dot black seeds around the white using a toothpick
- Add thin white lines radiating from center to edges
- Finish with clear topcoat for glossy dimension
The key to authentic kiwi textures lies in your dotting technique. Keep seeds small and evenly spaced.
For seasonal variations, try golden kiwi designs using yellow-green bases in summer or add shimmer polish during winter holidays. You can also paint kiwis on accent nails only, pairing them with solid green companions.
This technique works beautifully on both short and long nails.
Grape Cluster Design Using Dotting Tools
Moving from single-fruit designs to clustered patterns opens up new creative possibilities for your nail art. You’ll create stunning grape clusters using dotting tools of varying sizes to achieve realistic dimension and depth.
Start with a base coat in soft green or nude. Using your largest dotting tool, place purple dots at the nail’s center, forming the cluster’s foundation. Switch to medium and small tools to add overlapping dots around the edges, creating natural cluster gradients from dark purple to lavender. This layering technique mimics how grapes naturally bunch together.
For added sophistication, incorporate metallic accents by dotting gold or bronze highlights on select grapes where light would naturally hit. Add a thin green stem at the top using a detail brush or toothpick. You can also create tiny tendrils by dragging the polish in curved lines.
Seal your design with a glossy topcoat to enhance the grapes’ juicy appearance and protect your artwork from chipping.
Top Coat Application and Design Maintenance Tips
After completing your intricate fruit nail art, proper top coat application becomes crucial for preserving your design’s vibrancy and extending its wear time. You’ll want to apply a generous layer of quick-dry top coat, ensuring complete coverage from cuticle to tip.
Wait thirty seconds between your design completion and top coat application to prevent smudging.
For optimal nail polish preservation, follow these maintenance strategies:
- Reapply thin top coat layers every three days
- Wear gloves during household cleaning tasks
- Apply cuticle oil daily around your nail beds
- File away minor chips immediately before they spread
When you notice significant wear after a week, don’t rush to remove everything. Instead, schedule salon touch ups for professional repair of damaged sections.
Your nail technician can seamlessly blend new polish with existing designs, saving you time and preserving most of your original artwork. With proper care, you’ll enjoy your fruit nail art for up to two weeks.
Frequently Asked Questions
Can I Create Fruit Nail Art on Short Nails?
Yes, you can definitely create fruit nail art on short nails! You’ll find that smaller designs actually work better on limited space.
Paint delicate strawberries with tiny seeds using a dotting tool, or try cherries with short stems that won’t overwhelm your nail bed. You’re not restricted by nail length – just scale down your fruit designs.
Watermelon slices, mini citrus wheels, and simple berry clusters look adorable on shorter nails.
How Long Does Fruit Nail Art Typically Last Before Chipping?
Your fruit nail art’s chip longevity typically ranges from 5-7 days with regular polish or up to two weeks with gel polish.
You’ll extend wear time by applying a quality base coat, sealing edges with top coat, and reapplying top coat every 2-3 days.
Key maintenance tips include wearing gloves during cleaning, avoiding hot water exposure, and using cuticle oil daily to prevent lifting around the edges.
Is Fruit Nail Art Appropriate for Professional Work Environments?
You’ll find fruit nail art can work professionally if you choose subtle accents rather than bold, colorful designs. Opt for minimalist fruit motifs in neutral tones like soft peach, muted greens, or cream backgrounds.
A single strawberry accent nail or tiny lemon slices on nude polish won’t raise eyebrows in most offices. Consider your workplace’s dress code and culture – conservative environments may require sticking to simpler, understated fruit designs.
What’s the Average Cost of Getting Fruit Nail Art at a Salon?
You’ll typically pay $30-$80 for fruit nail art at a salon, though salon pricing depends heavily on geographical variation.
In major cities, you’re looking at the higher end, while suburban salons charge less.
The complexity of your chosen fruit designs also affects cost – simple citrus slices run cheaper than intricate strawberry or watermelon patterns.
Some salons include fruit art in their premium packages, while others charge per nail for detailed work.
Can I Use Regular Acrylic Paint Instead of Nail Polish?
You can use regular acrylic paint for nail art, but it’s not recommended for beginners.
While acrylic pigments create vibrant fruit designs, they won’t last as long as nail polish and chip easily without proper sealing.
You’ll need a good base coat and top coat for protection.
Also, work with ventilation concerns in mind – acrylics release fumes that aren’t formulated for cosmetic use like nail polishes are.
Conclusion
You’ve now mastered eight adorable fruit nail art designs that’ll brighten any manicure! Start with the simple strawberry or watermelon slice, then work your way up to more detailed citrus wheels and grape clusters. Remember, practice makes perfect – don’t worry if your first attempts aren’t flawless. Keep your dotting tools clean, let each layer dry completely, and always seal with a quality top coat. You’re ready to rock those fruity nails!